Manage Reports
Creating a Report
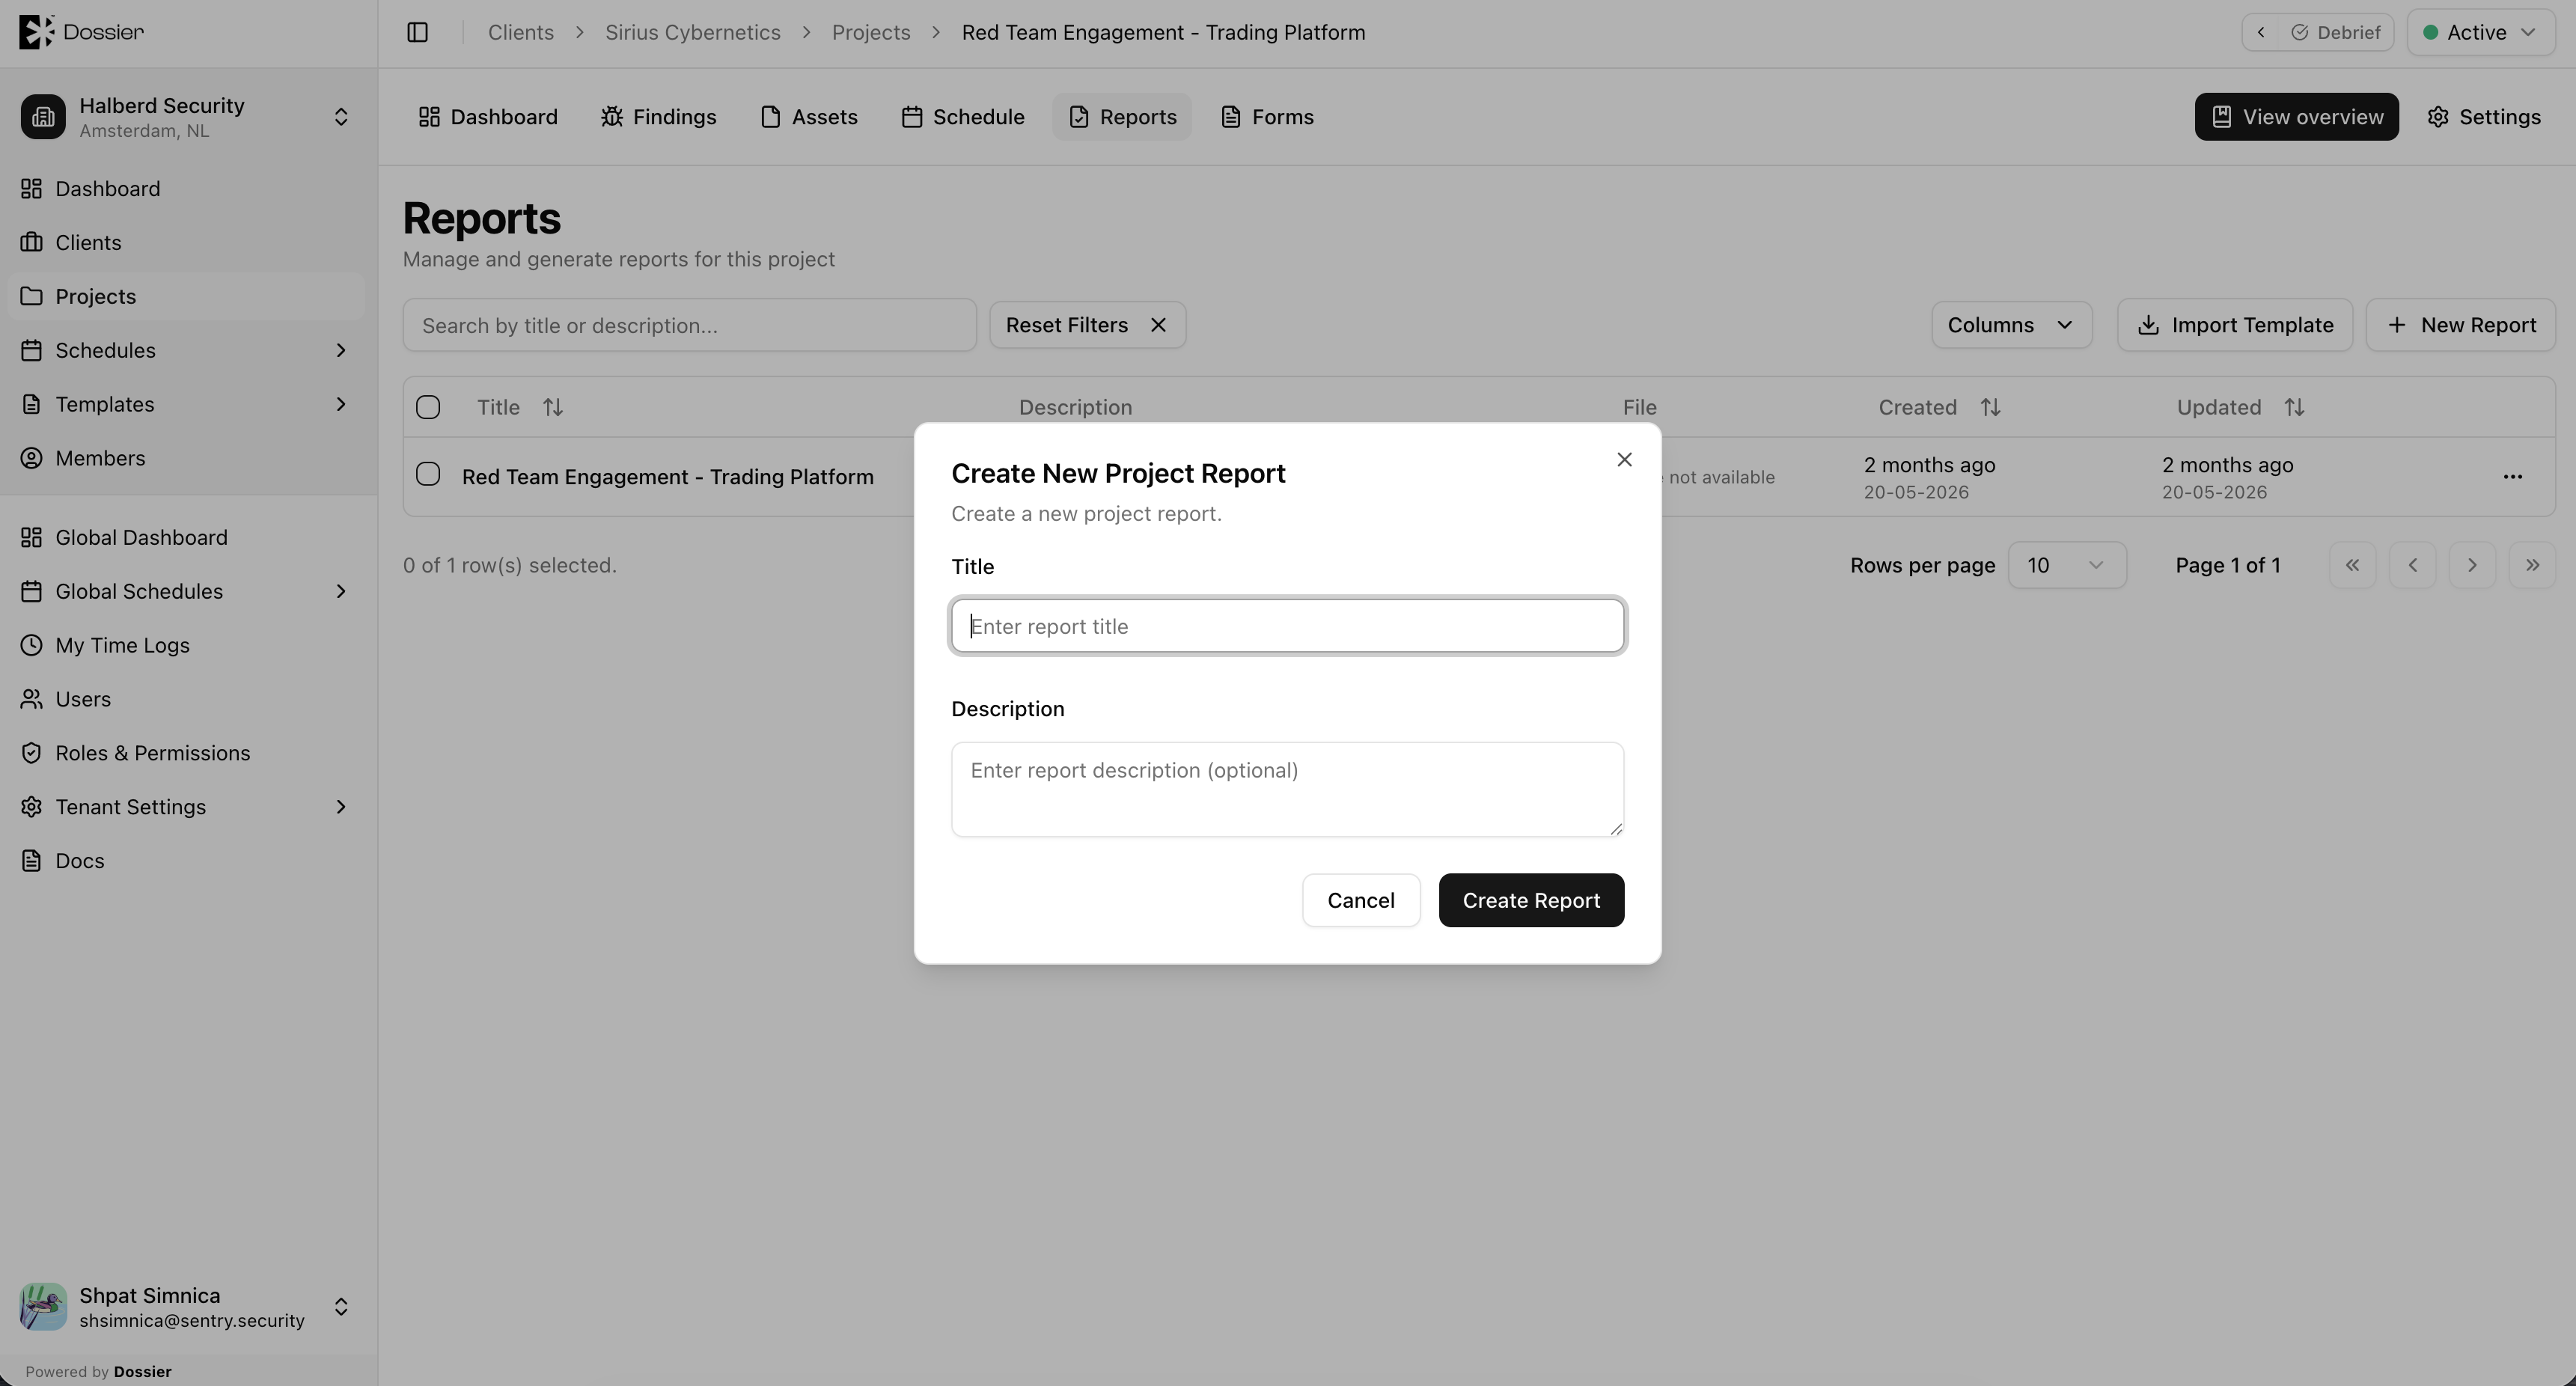
Option 1: Create from scratch
- Open a project and click Reports in the section navigation.
- Click New Report.
- Enter a title and click Create.
Option 2: Import from a template
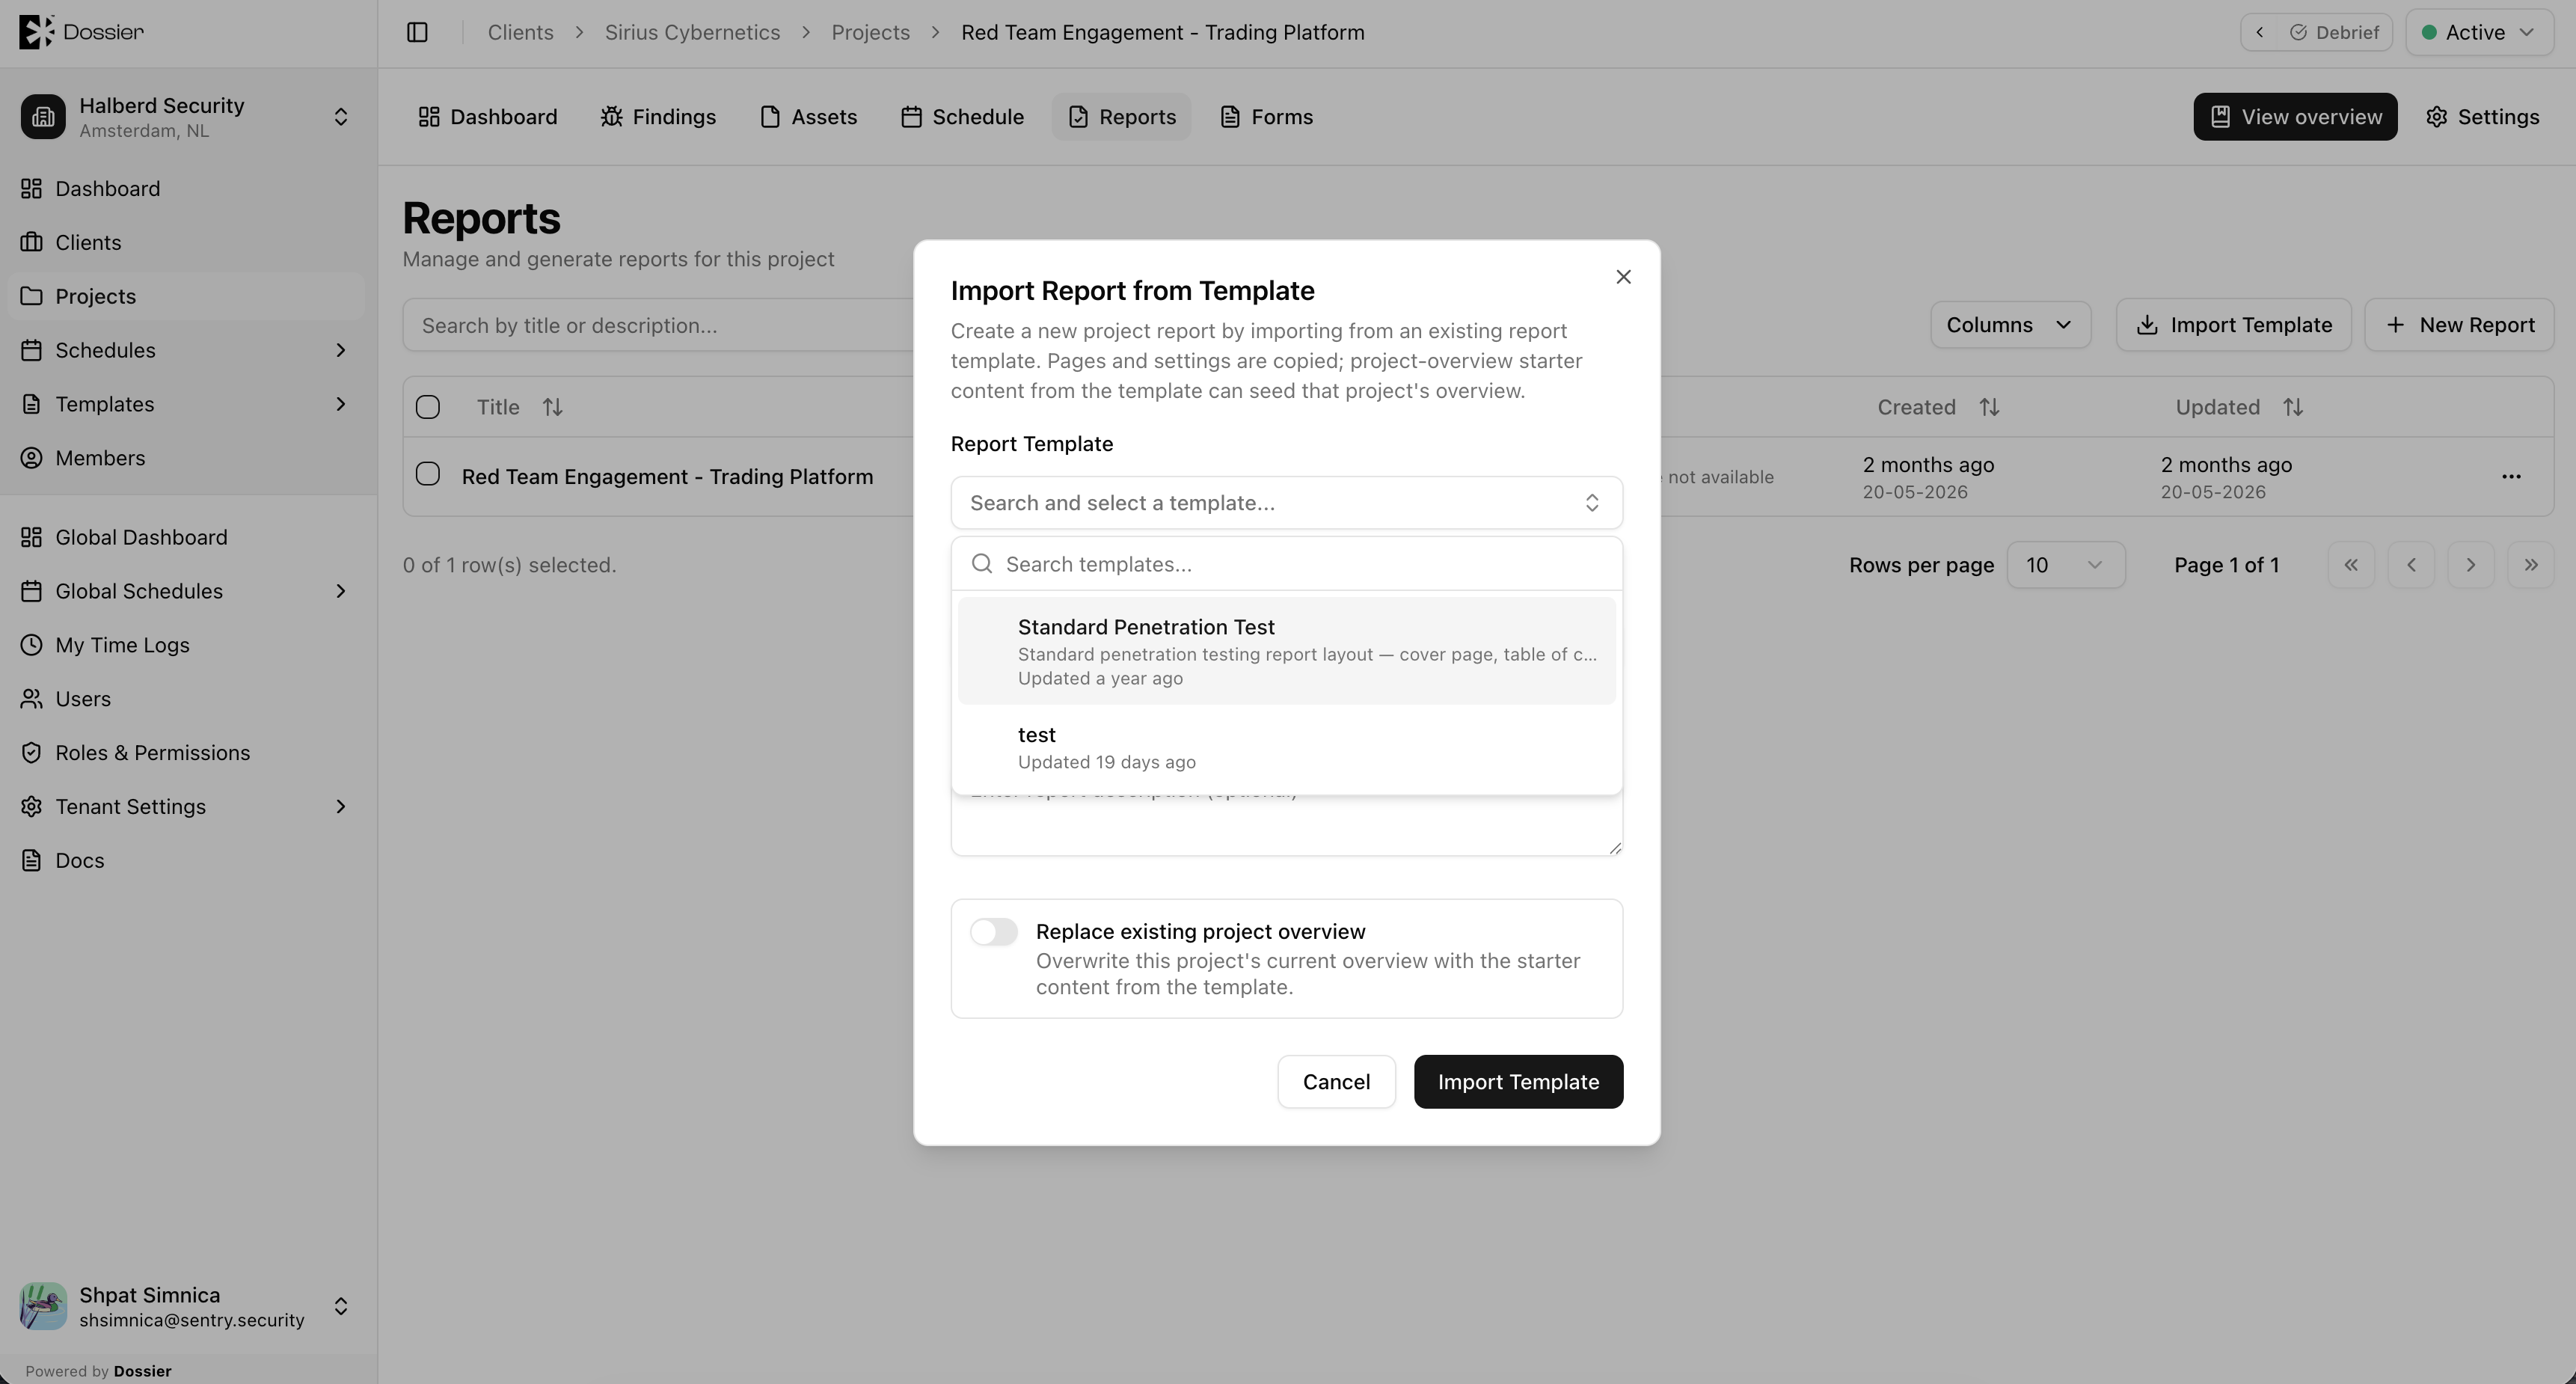
- Click Import Template on the Reports list.
- Select a report template from the organization.
- The template's pages, components, and styling are copied into a new project report.
Editing a Report
Step 1: Open the report editor
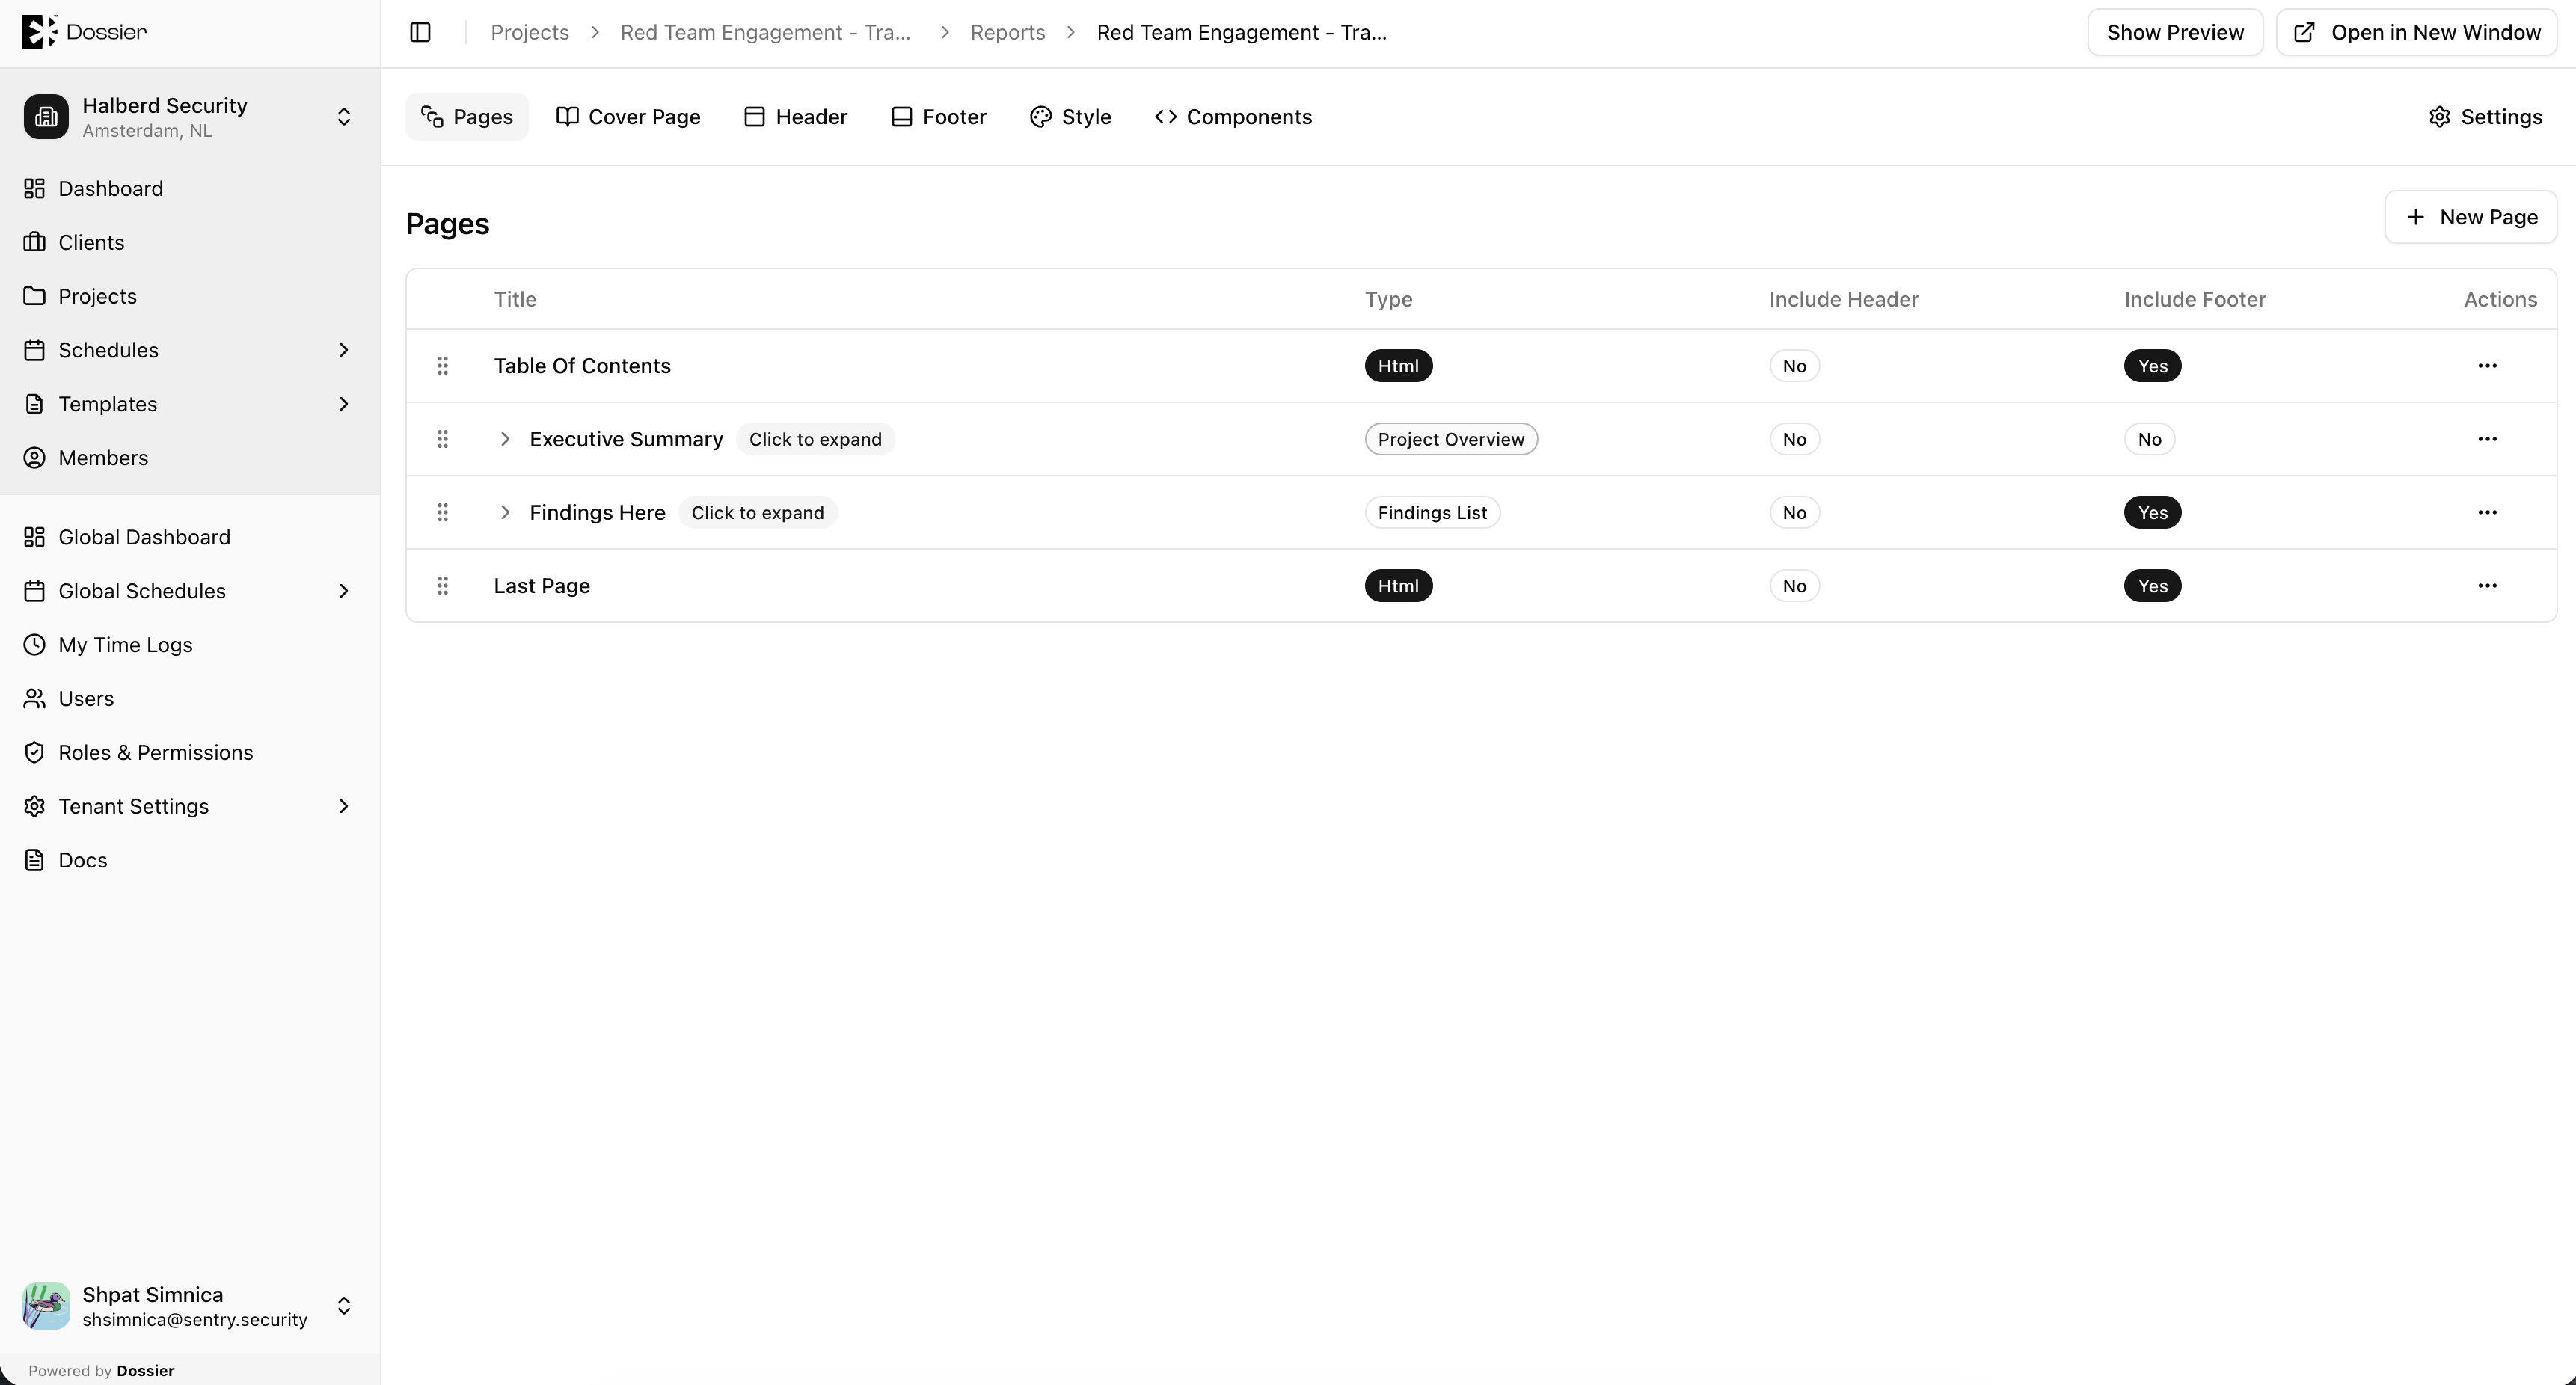
Click a report row to open the report editor.
Route: /report-editor?target=project-report&id=:reportId&projectId=:projectId
Step 2: Edit pages
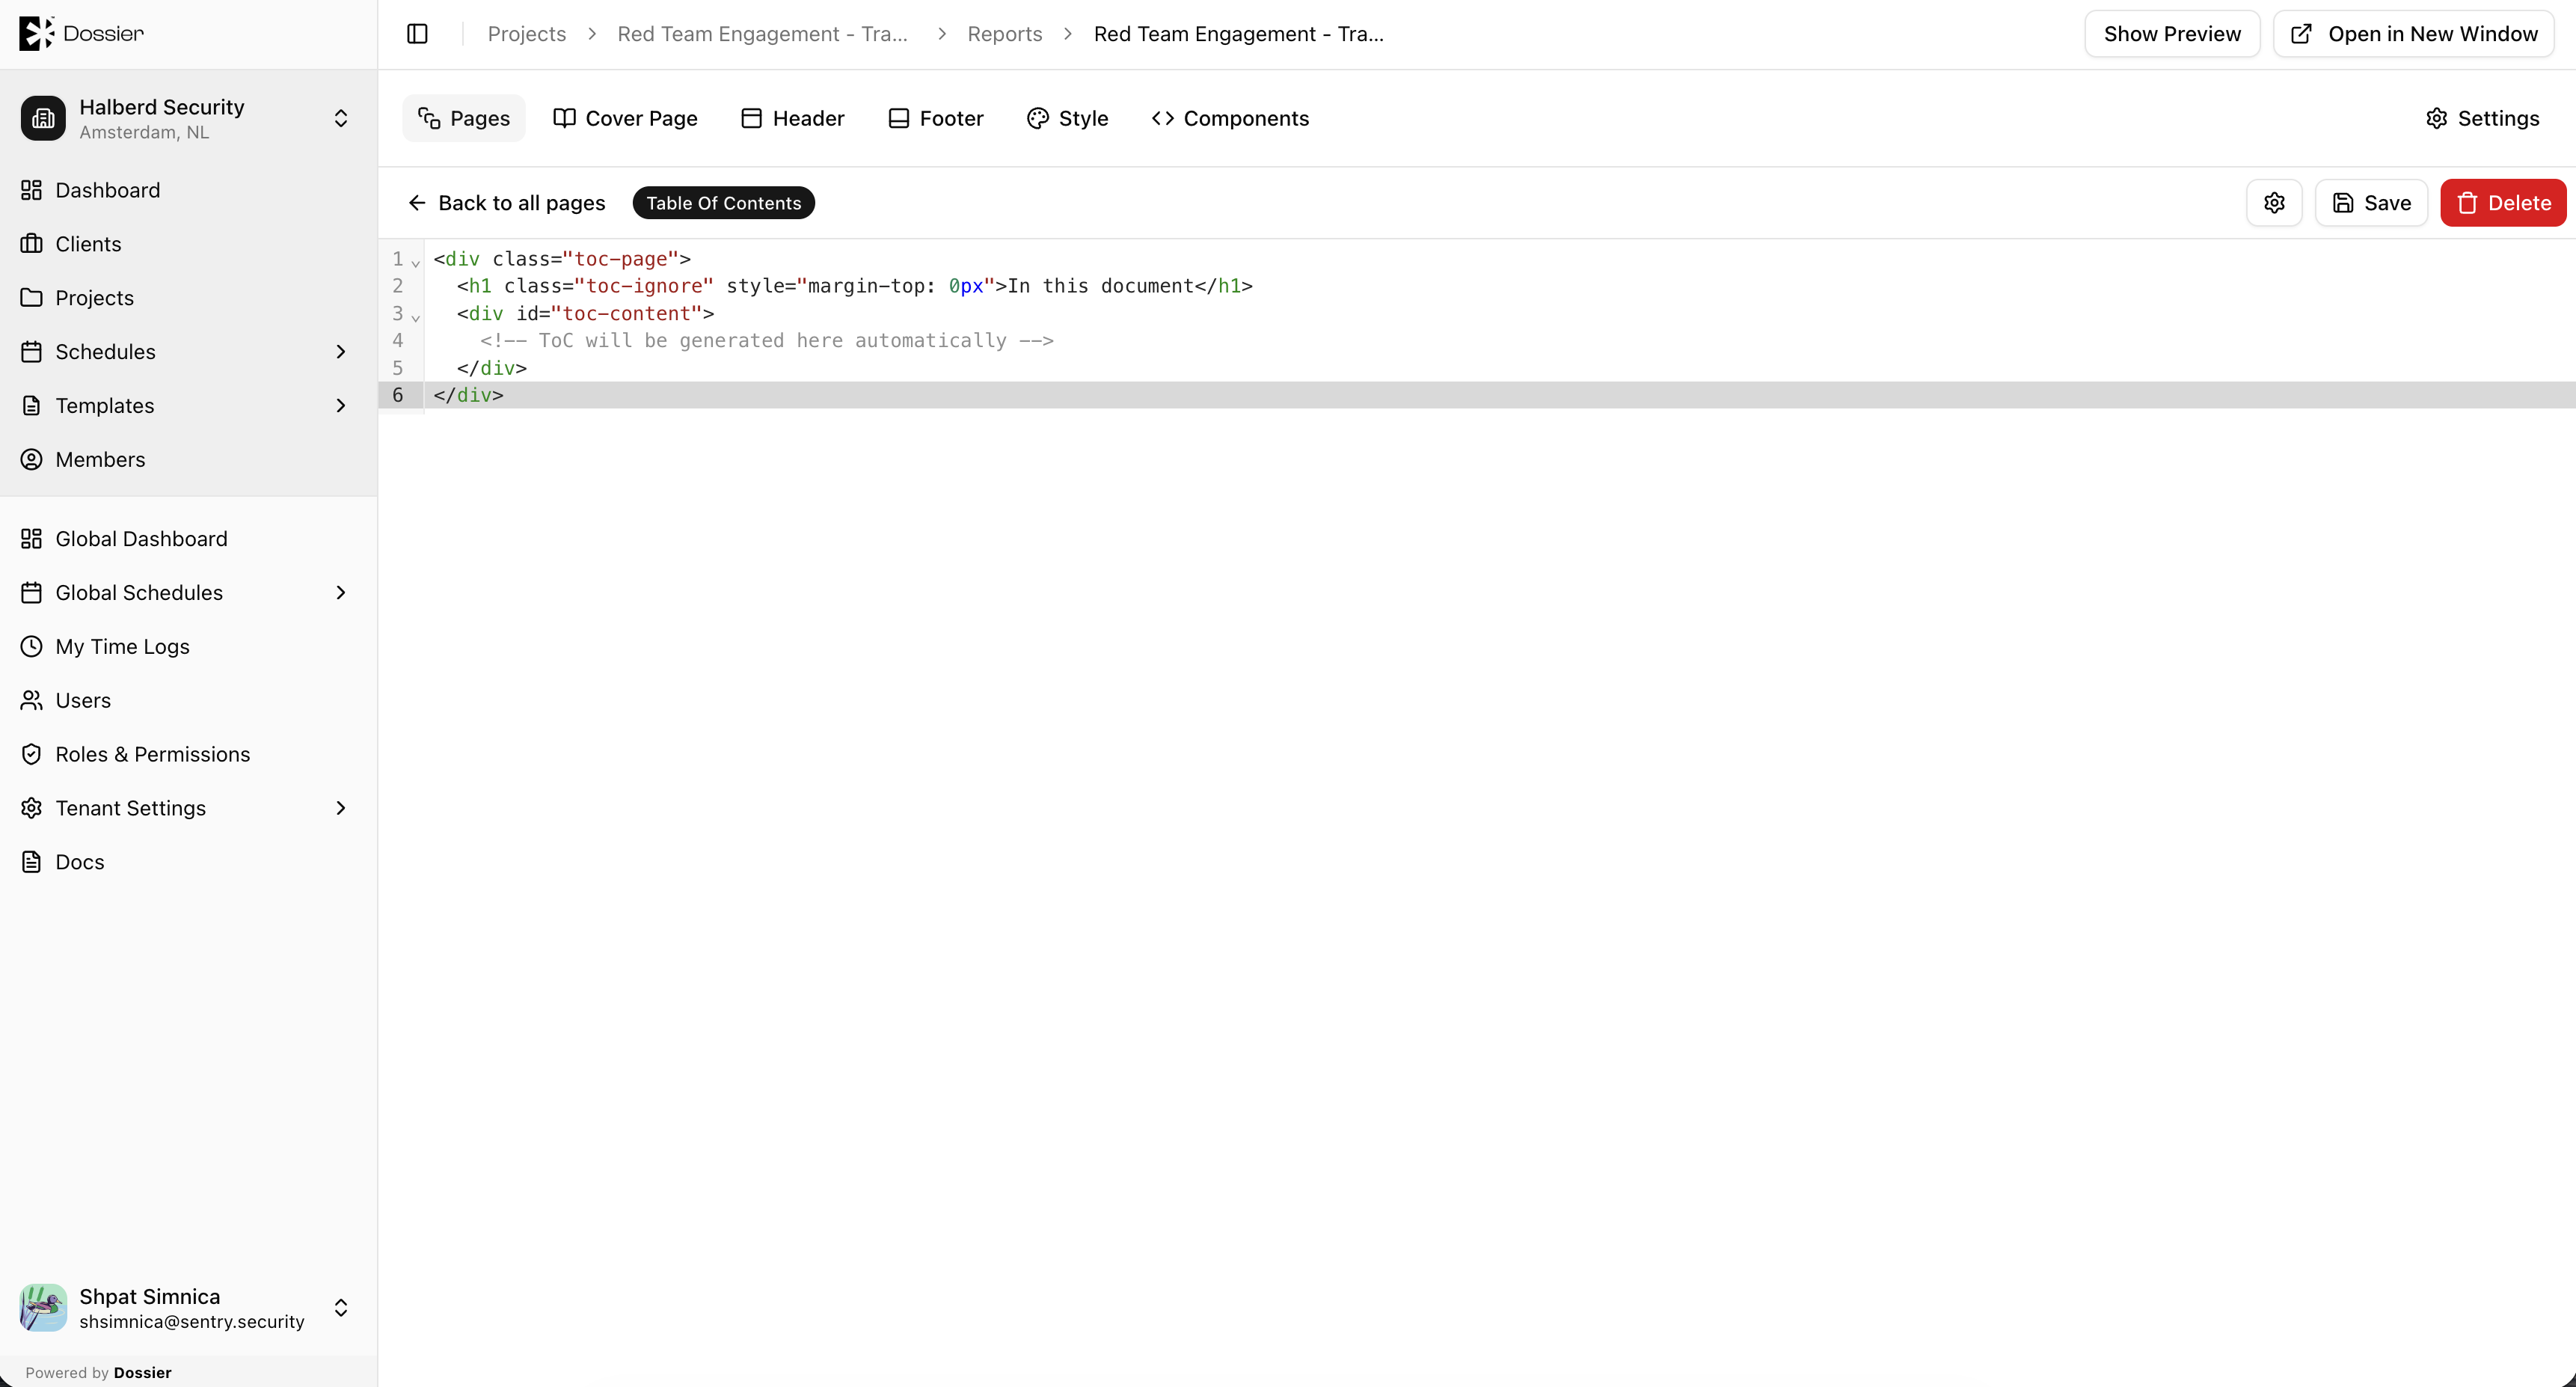
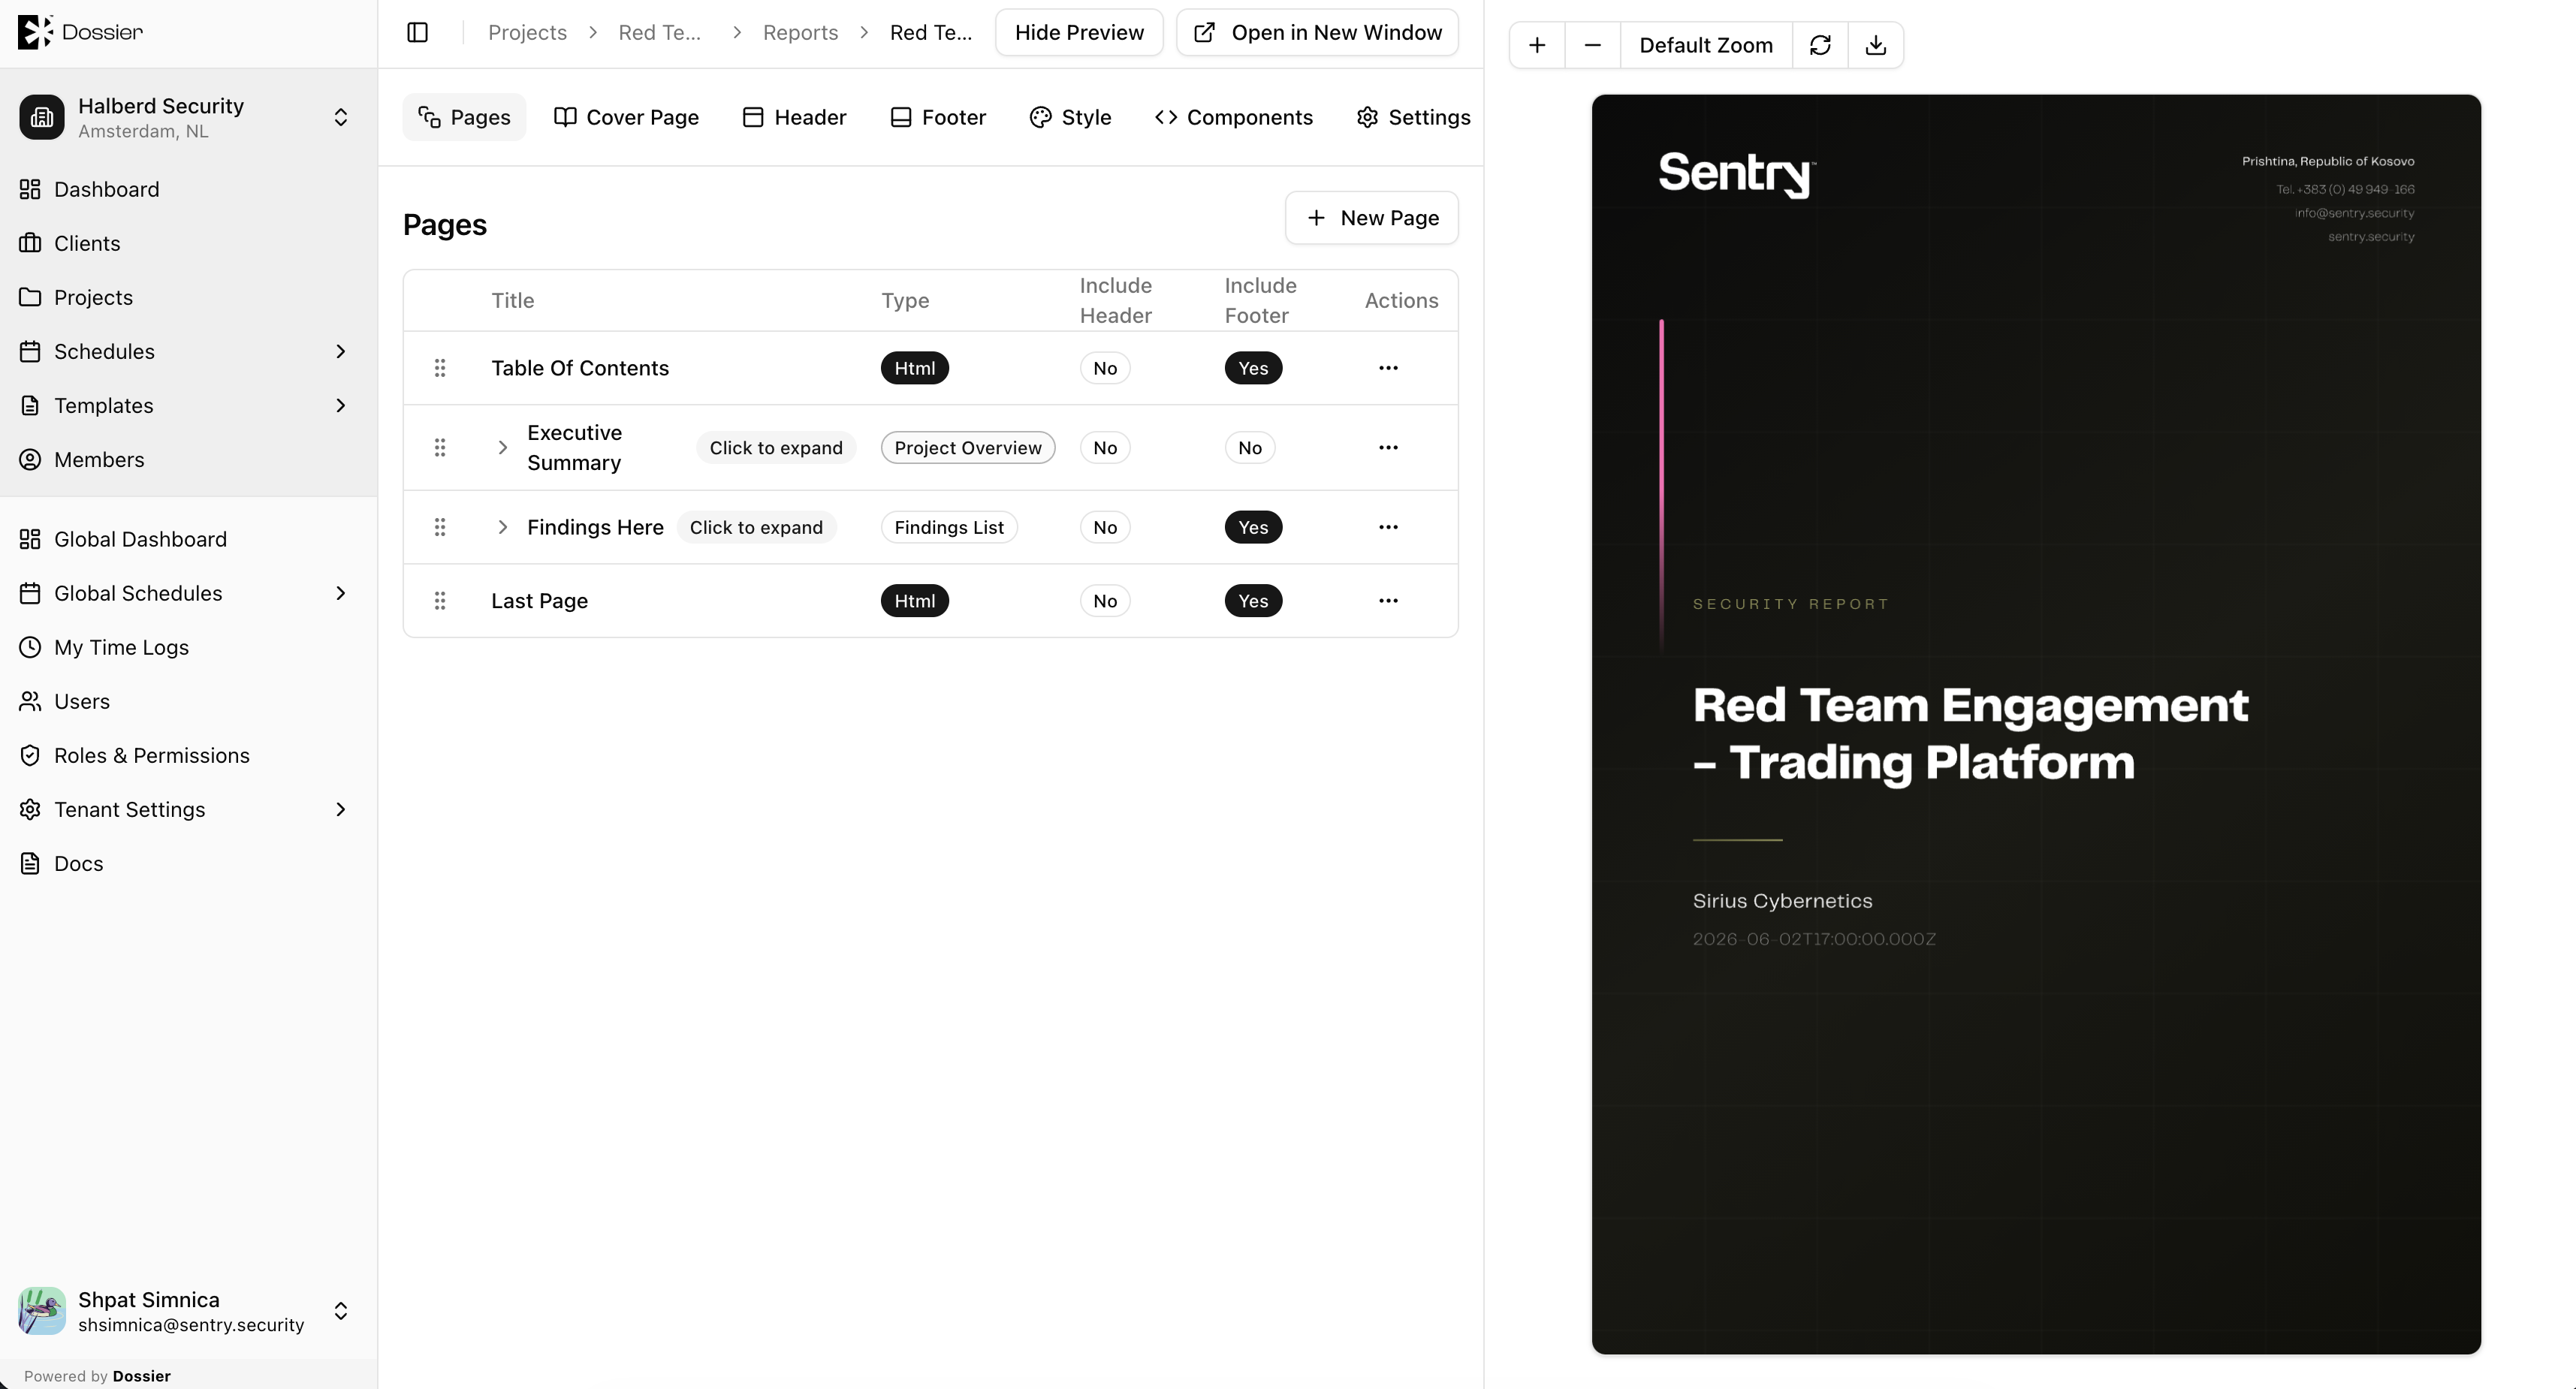
Navigate to Pages in the editor sidebar. Click a page to edit its content. Add new pages using the New Page button.
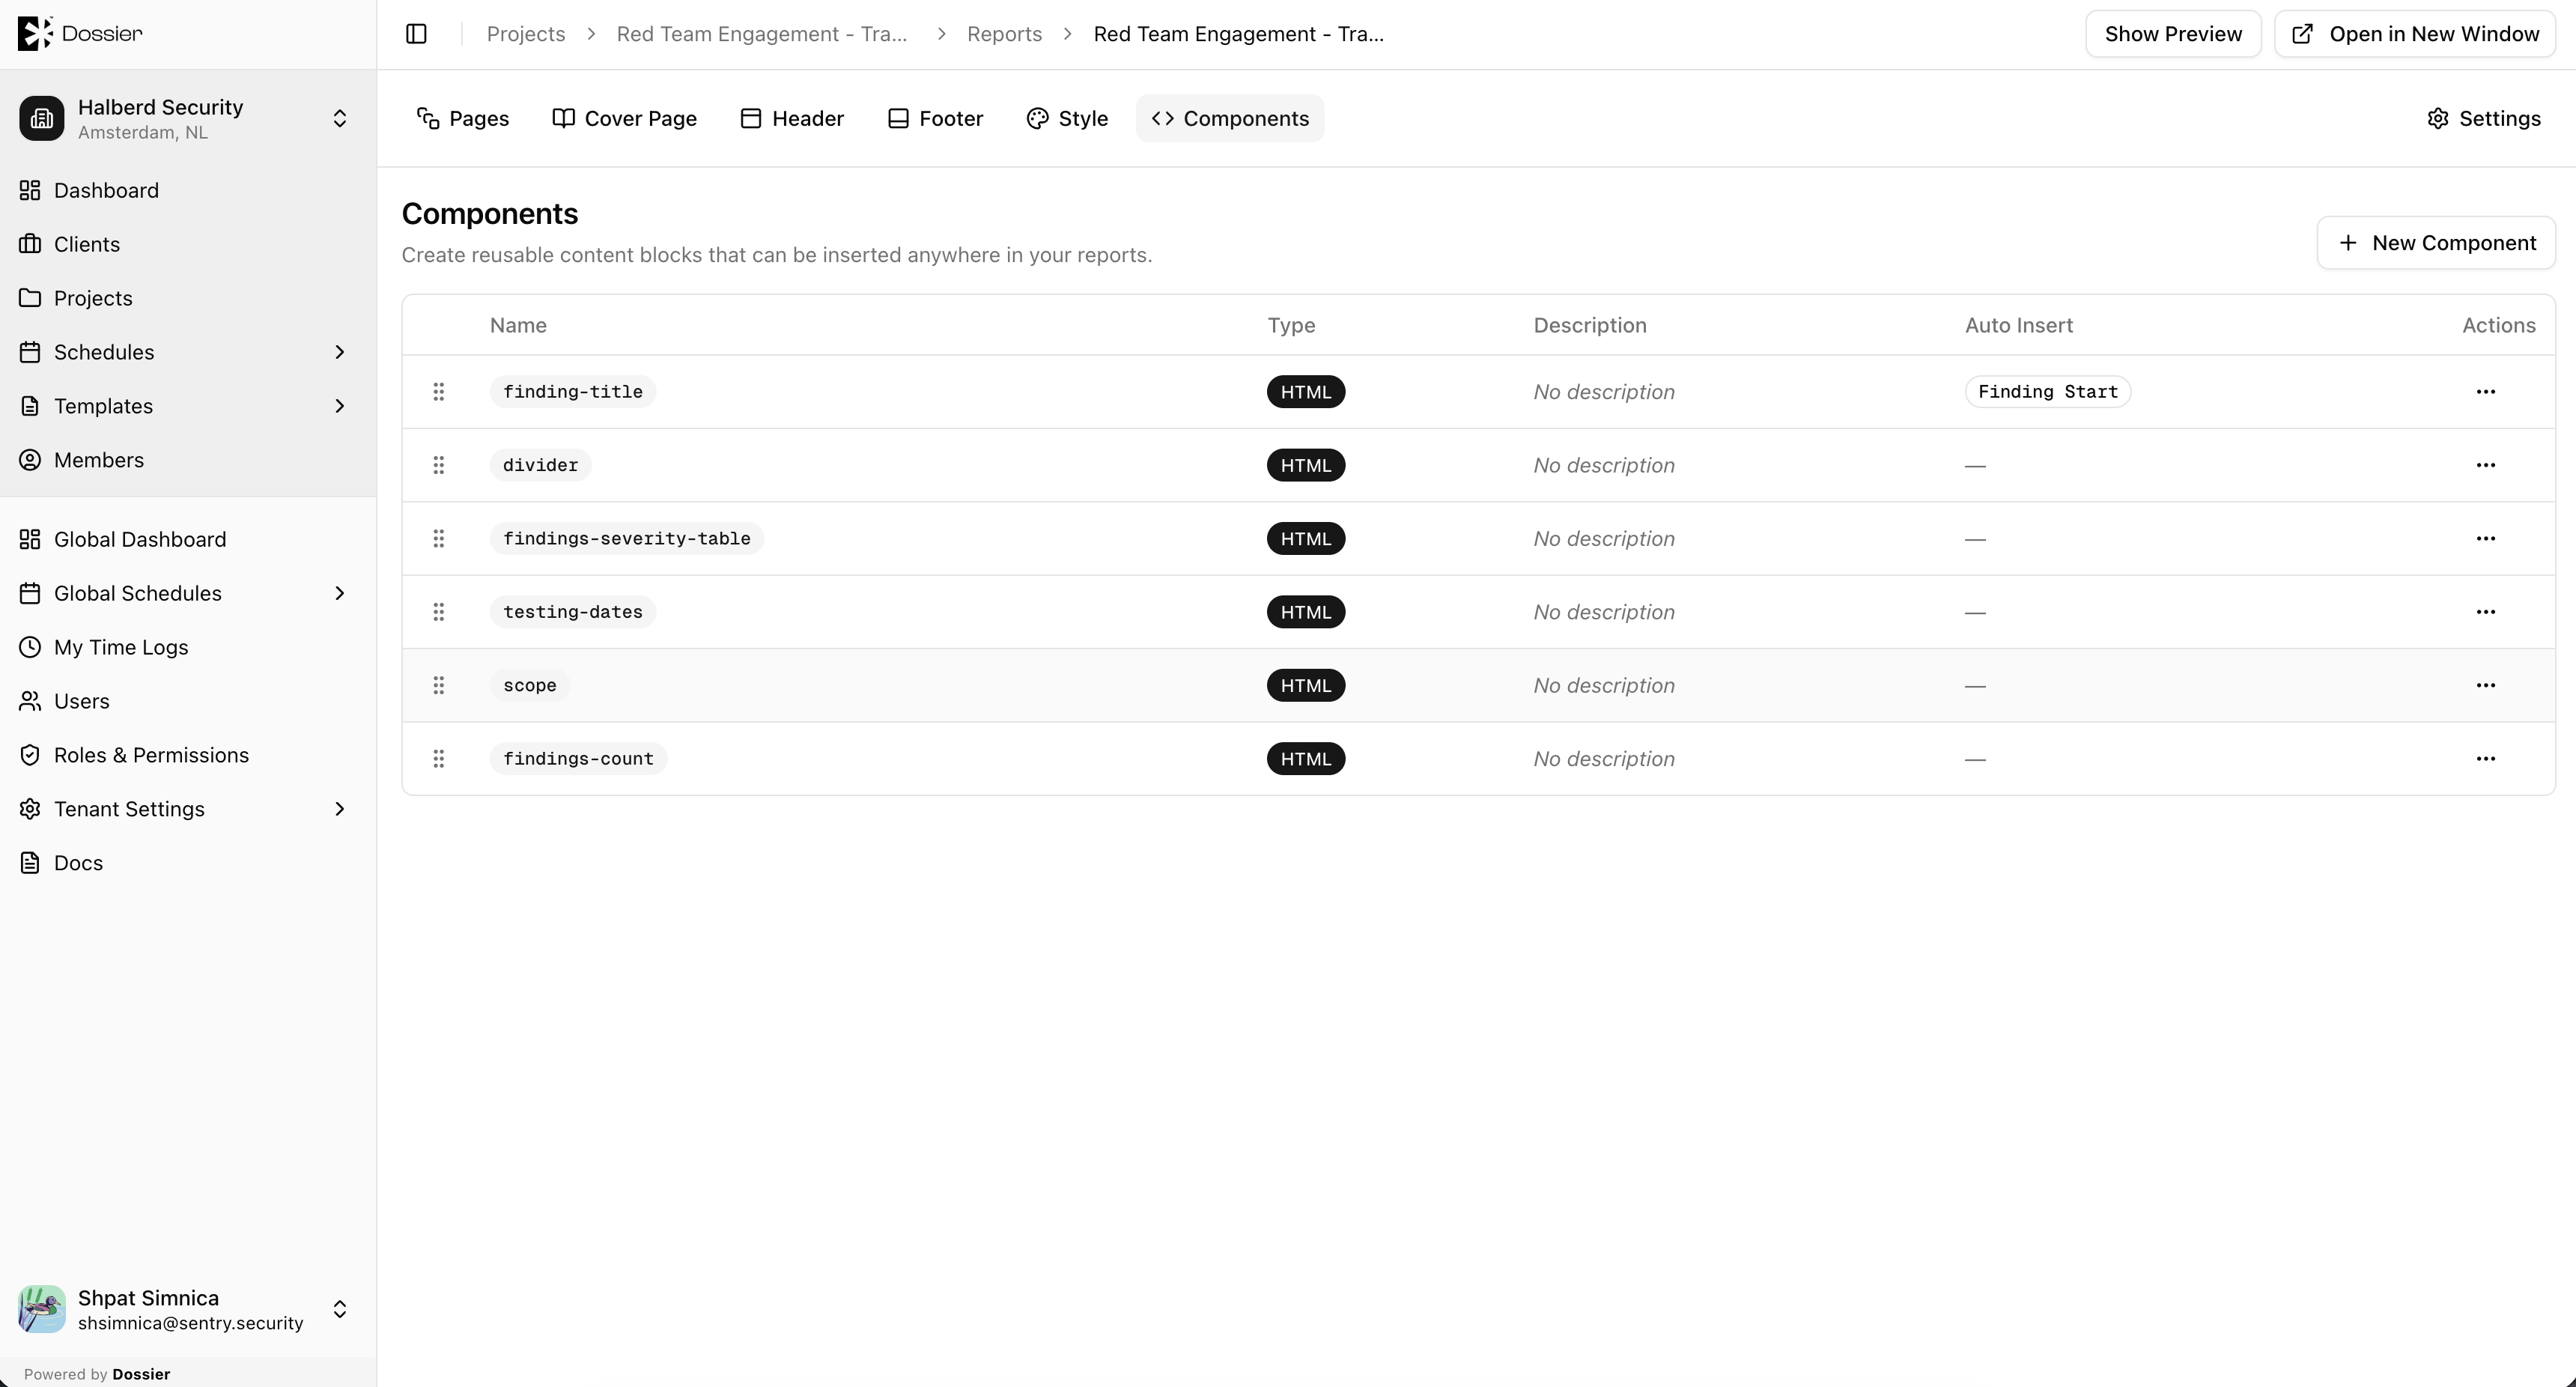
Step 3: Manage components
Navigate to Components to create or edit reusable content blocks that can be inserted into pages.
Step 4: Configure static pages
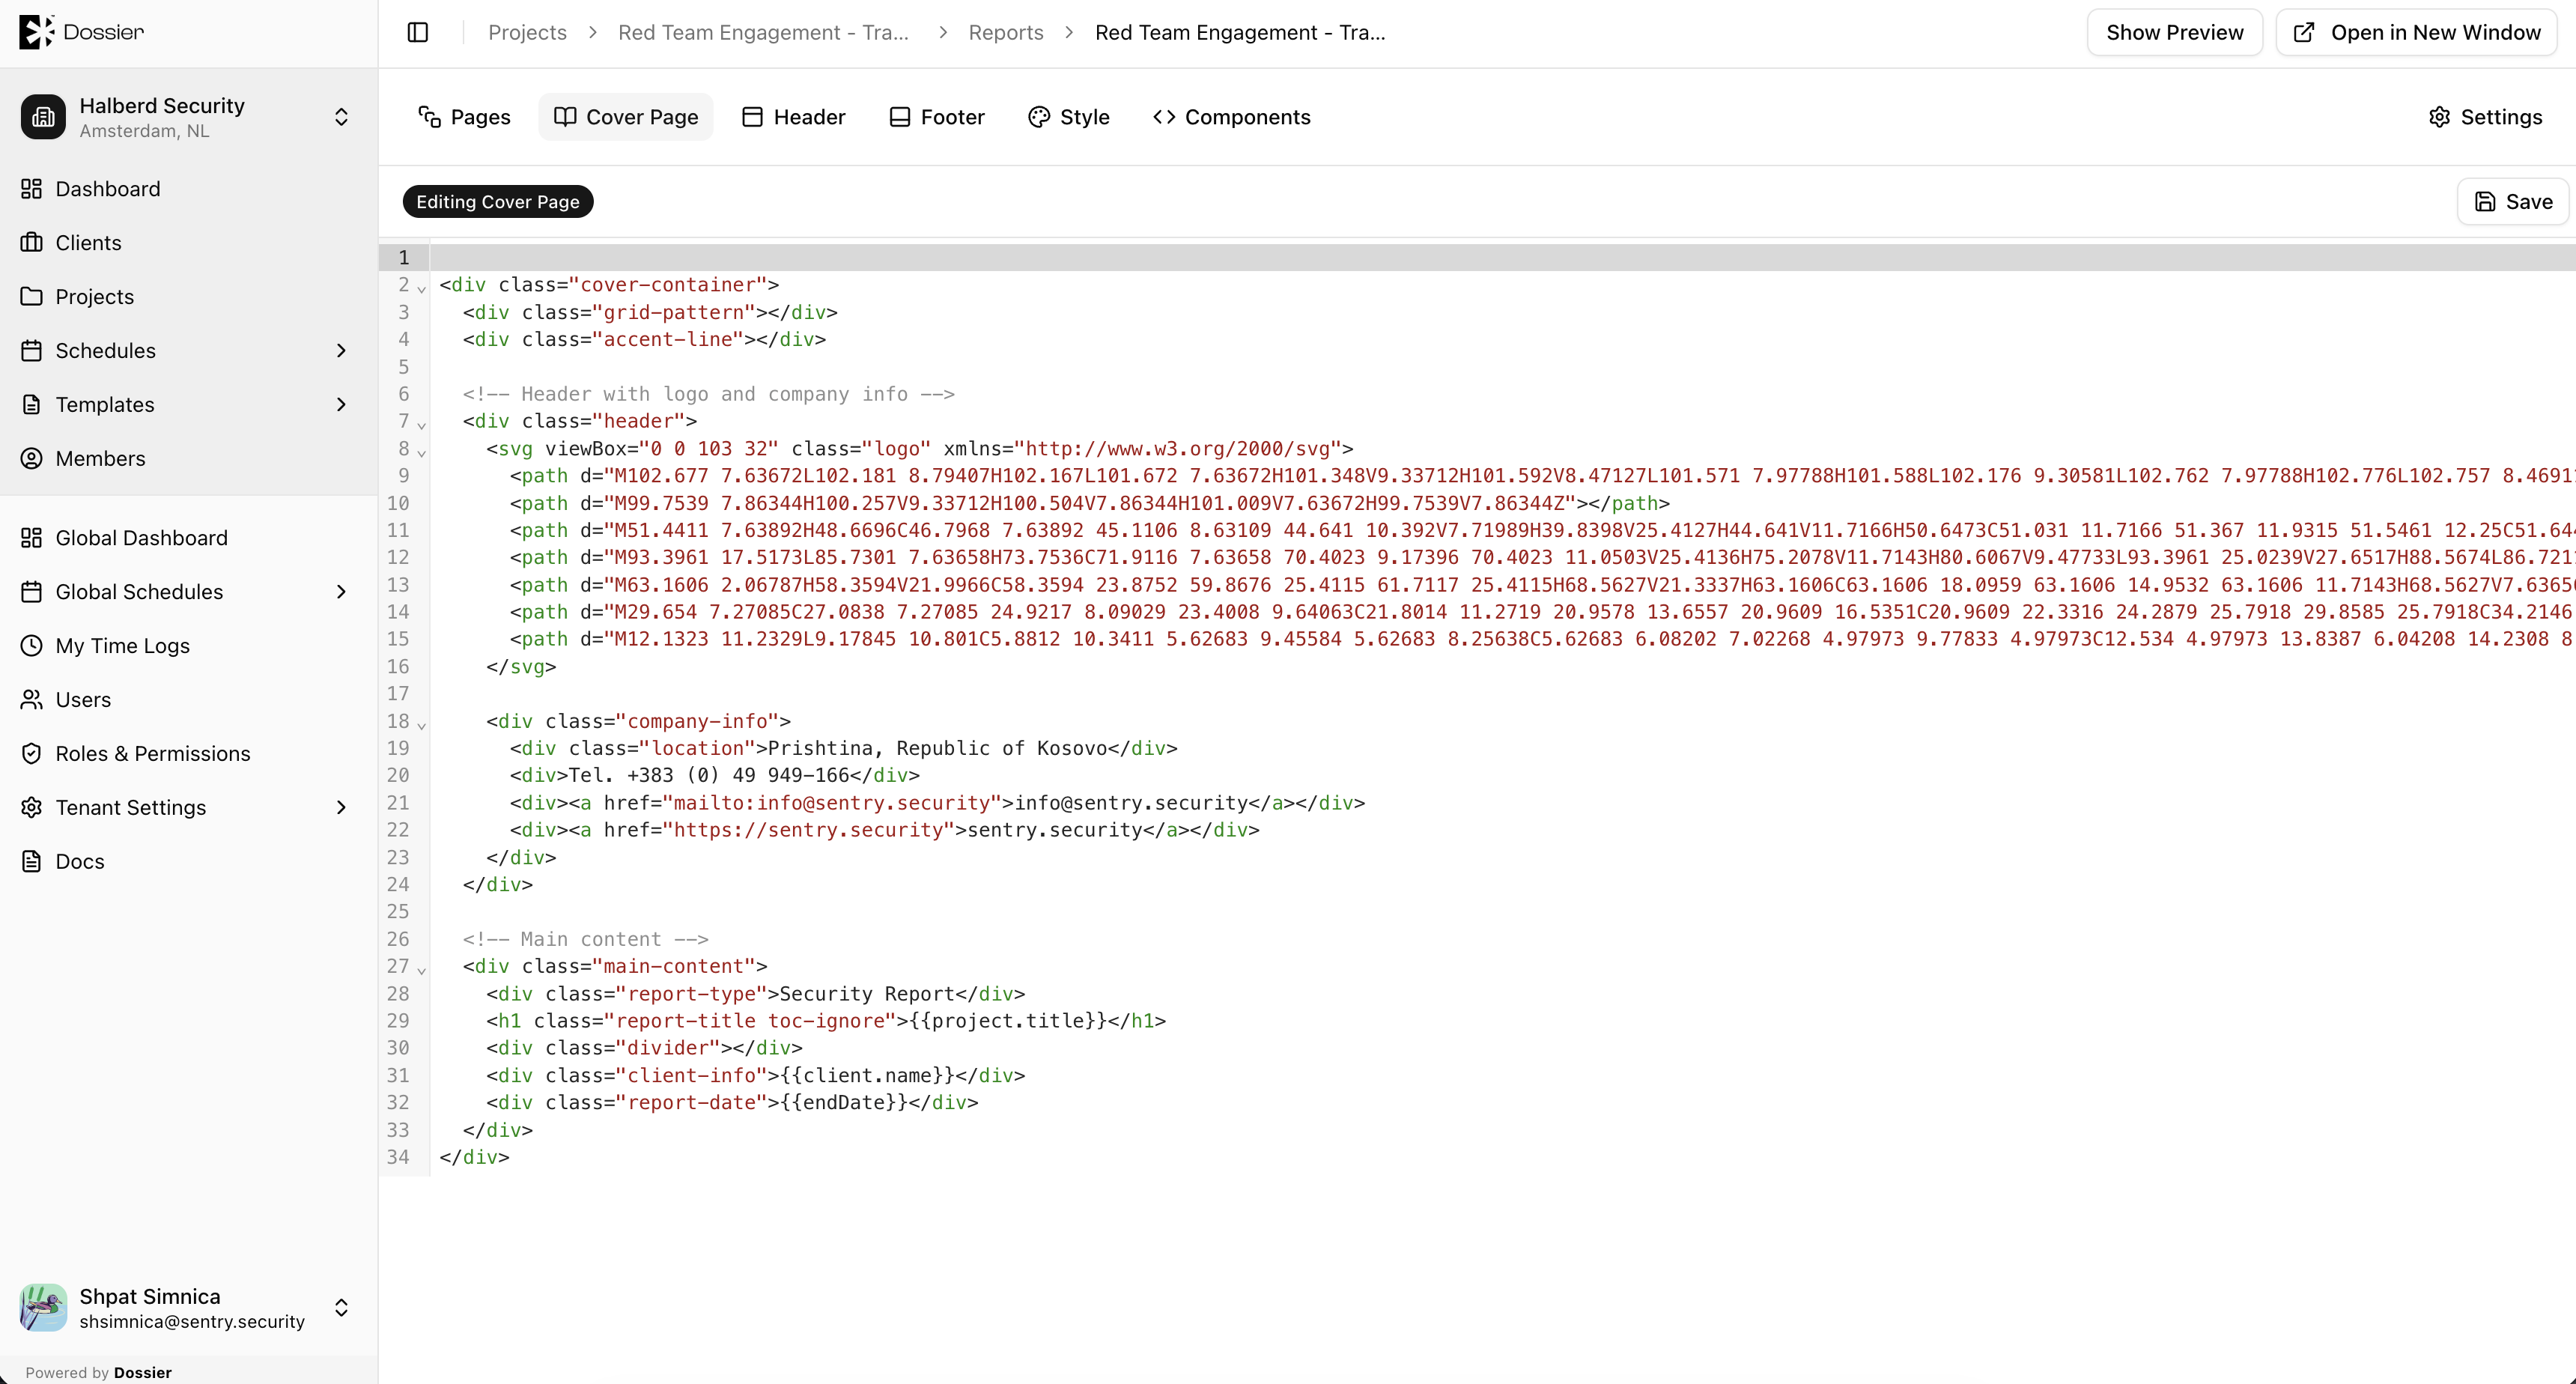
Navigate to Static pages to edit:
- Cover — Report cover page with Handlebars HTML
- Header — Page header template
- Footer — Page footer template
- Style — Global CSS and styling
Step 5: Preview PDF
Use the PDF preview pane (split view) or open the preview in a popup window. The preview updates as you edit.
Generating a PDF
Step 1: From the Reports list
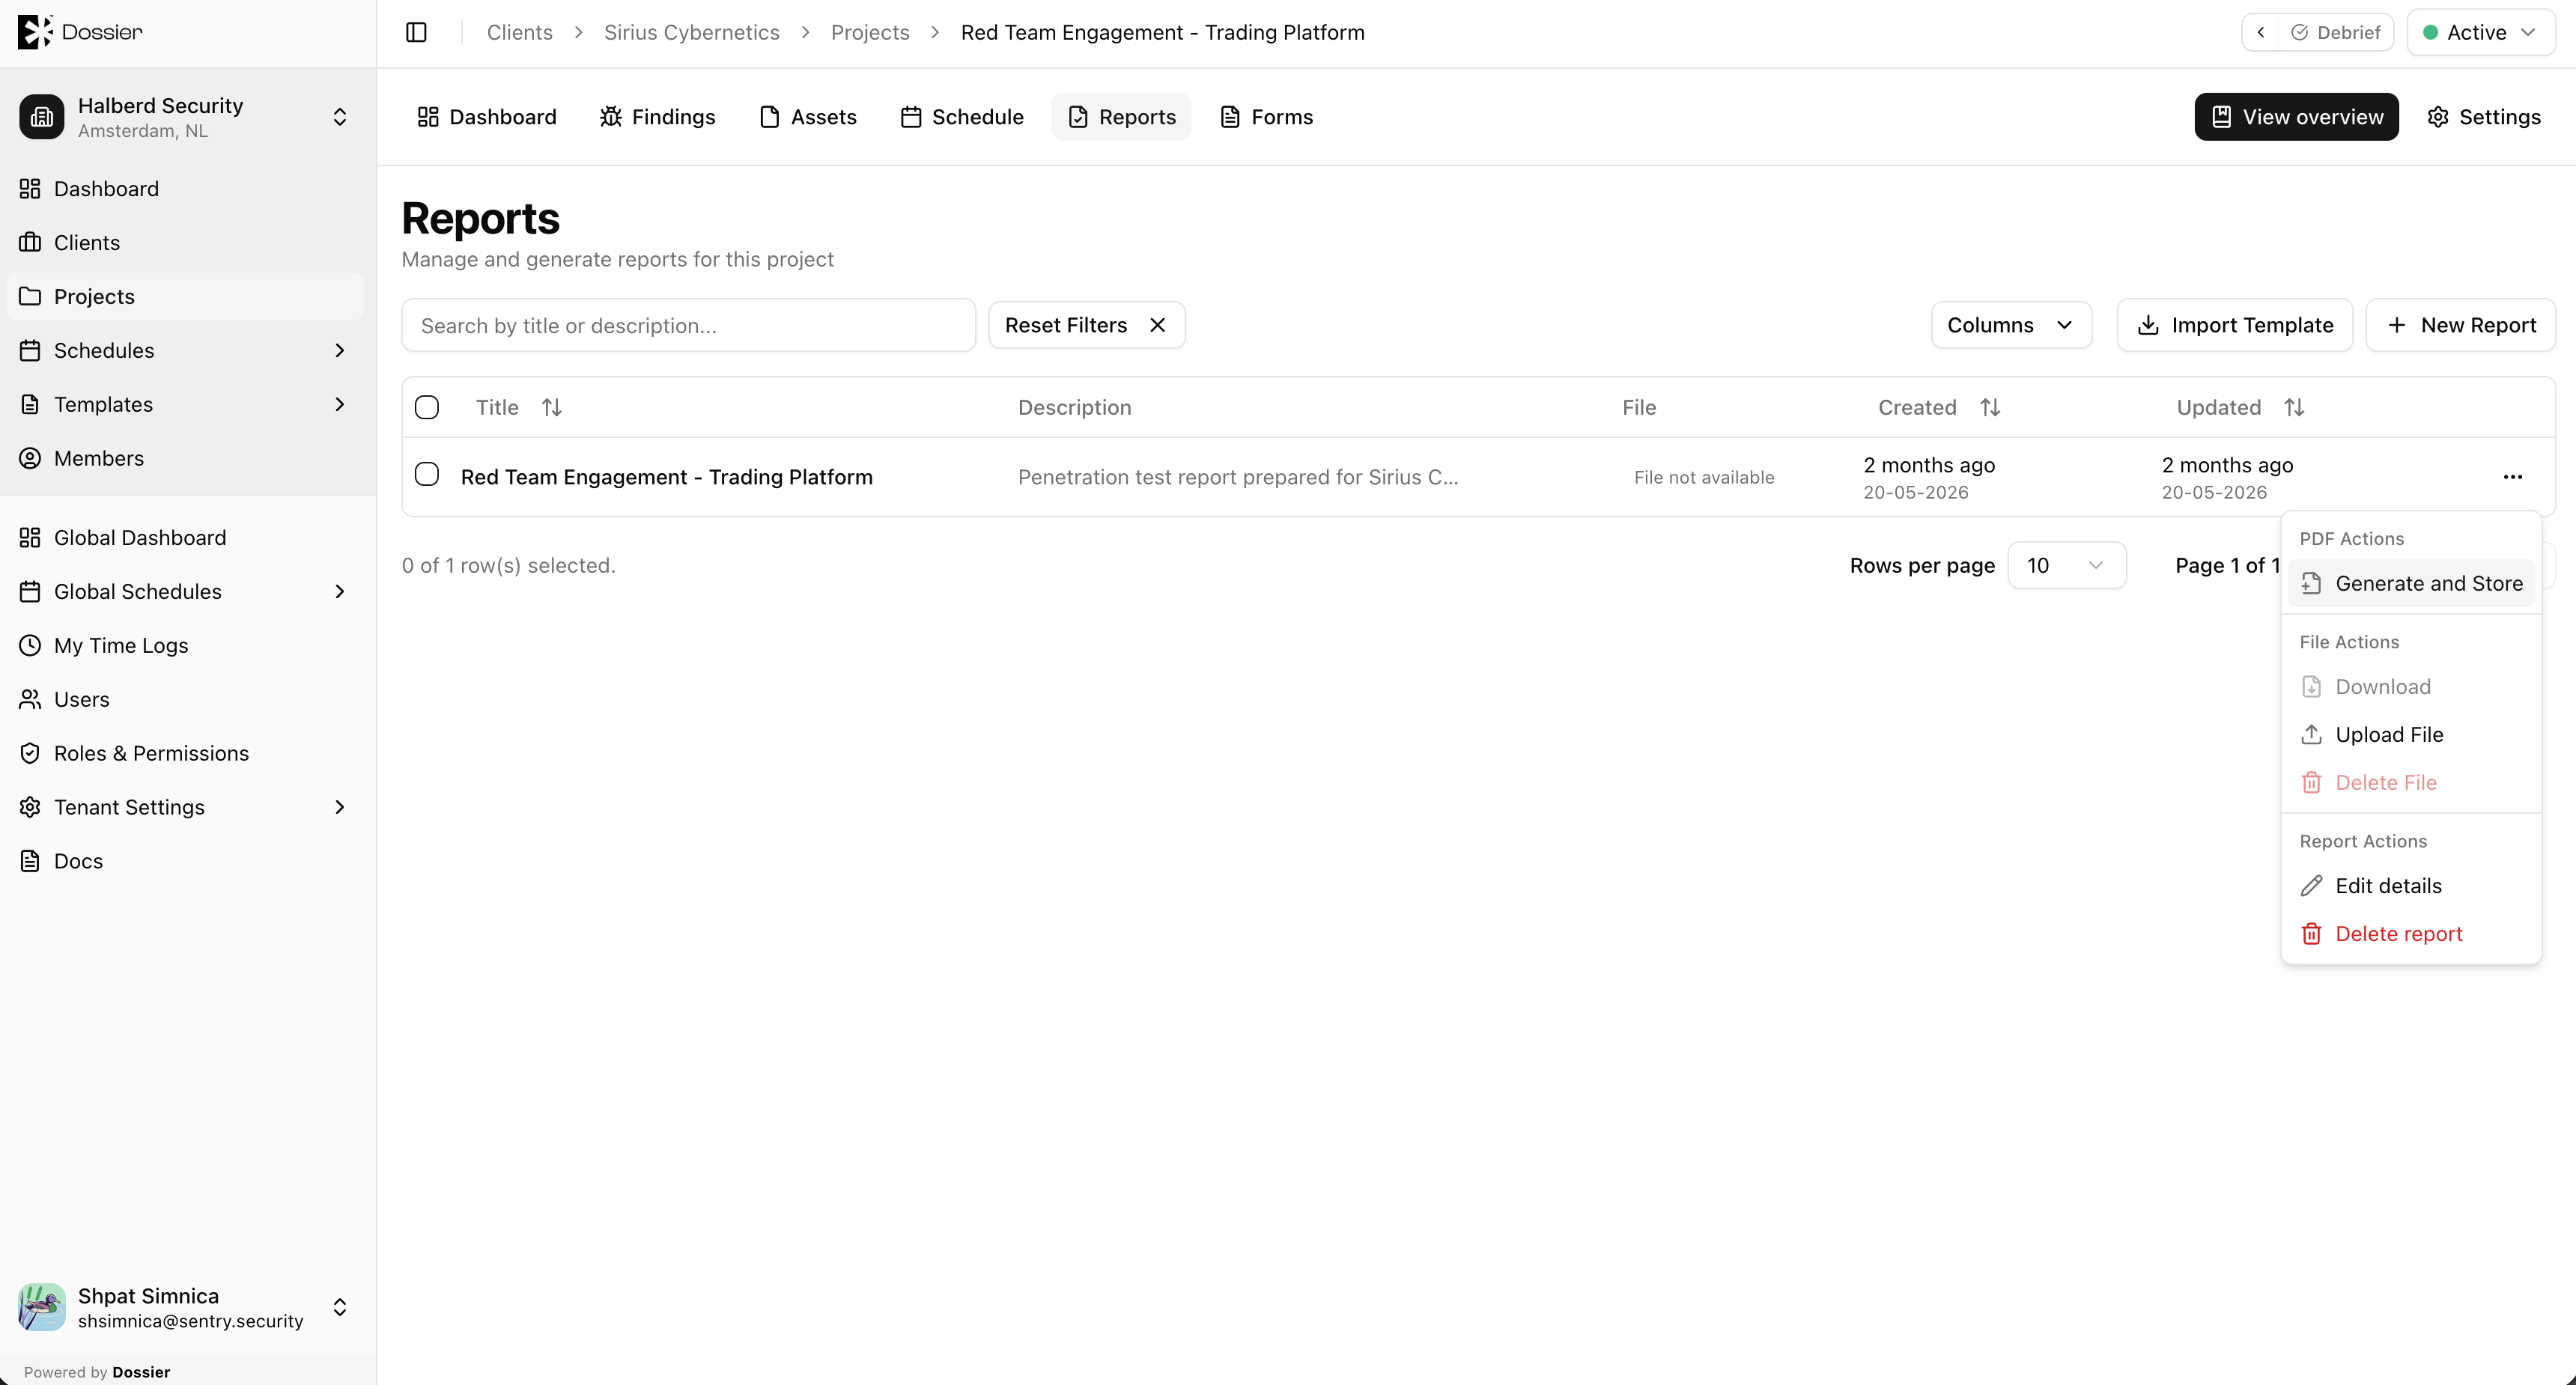
Click Generate PDF on a report row.
Step 2: Download
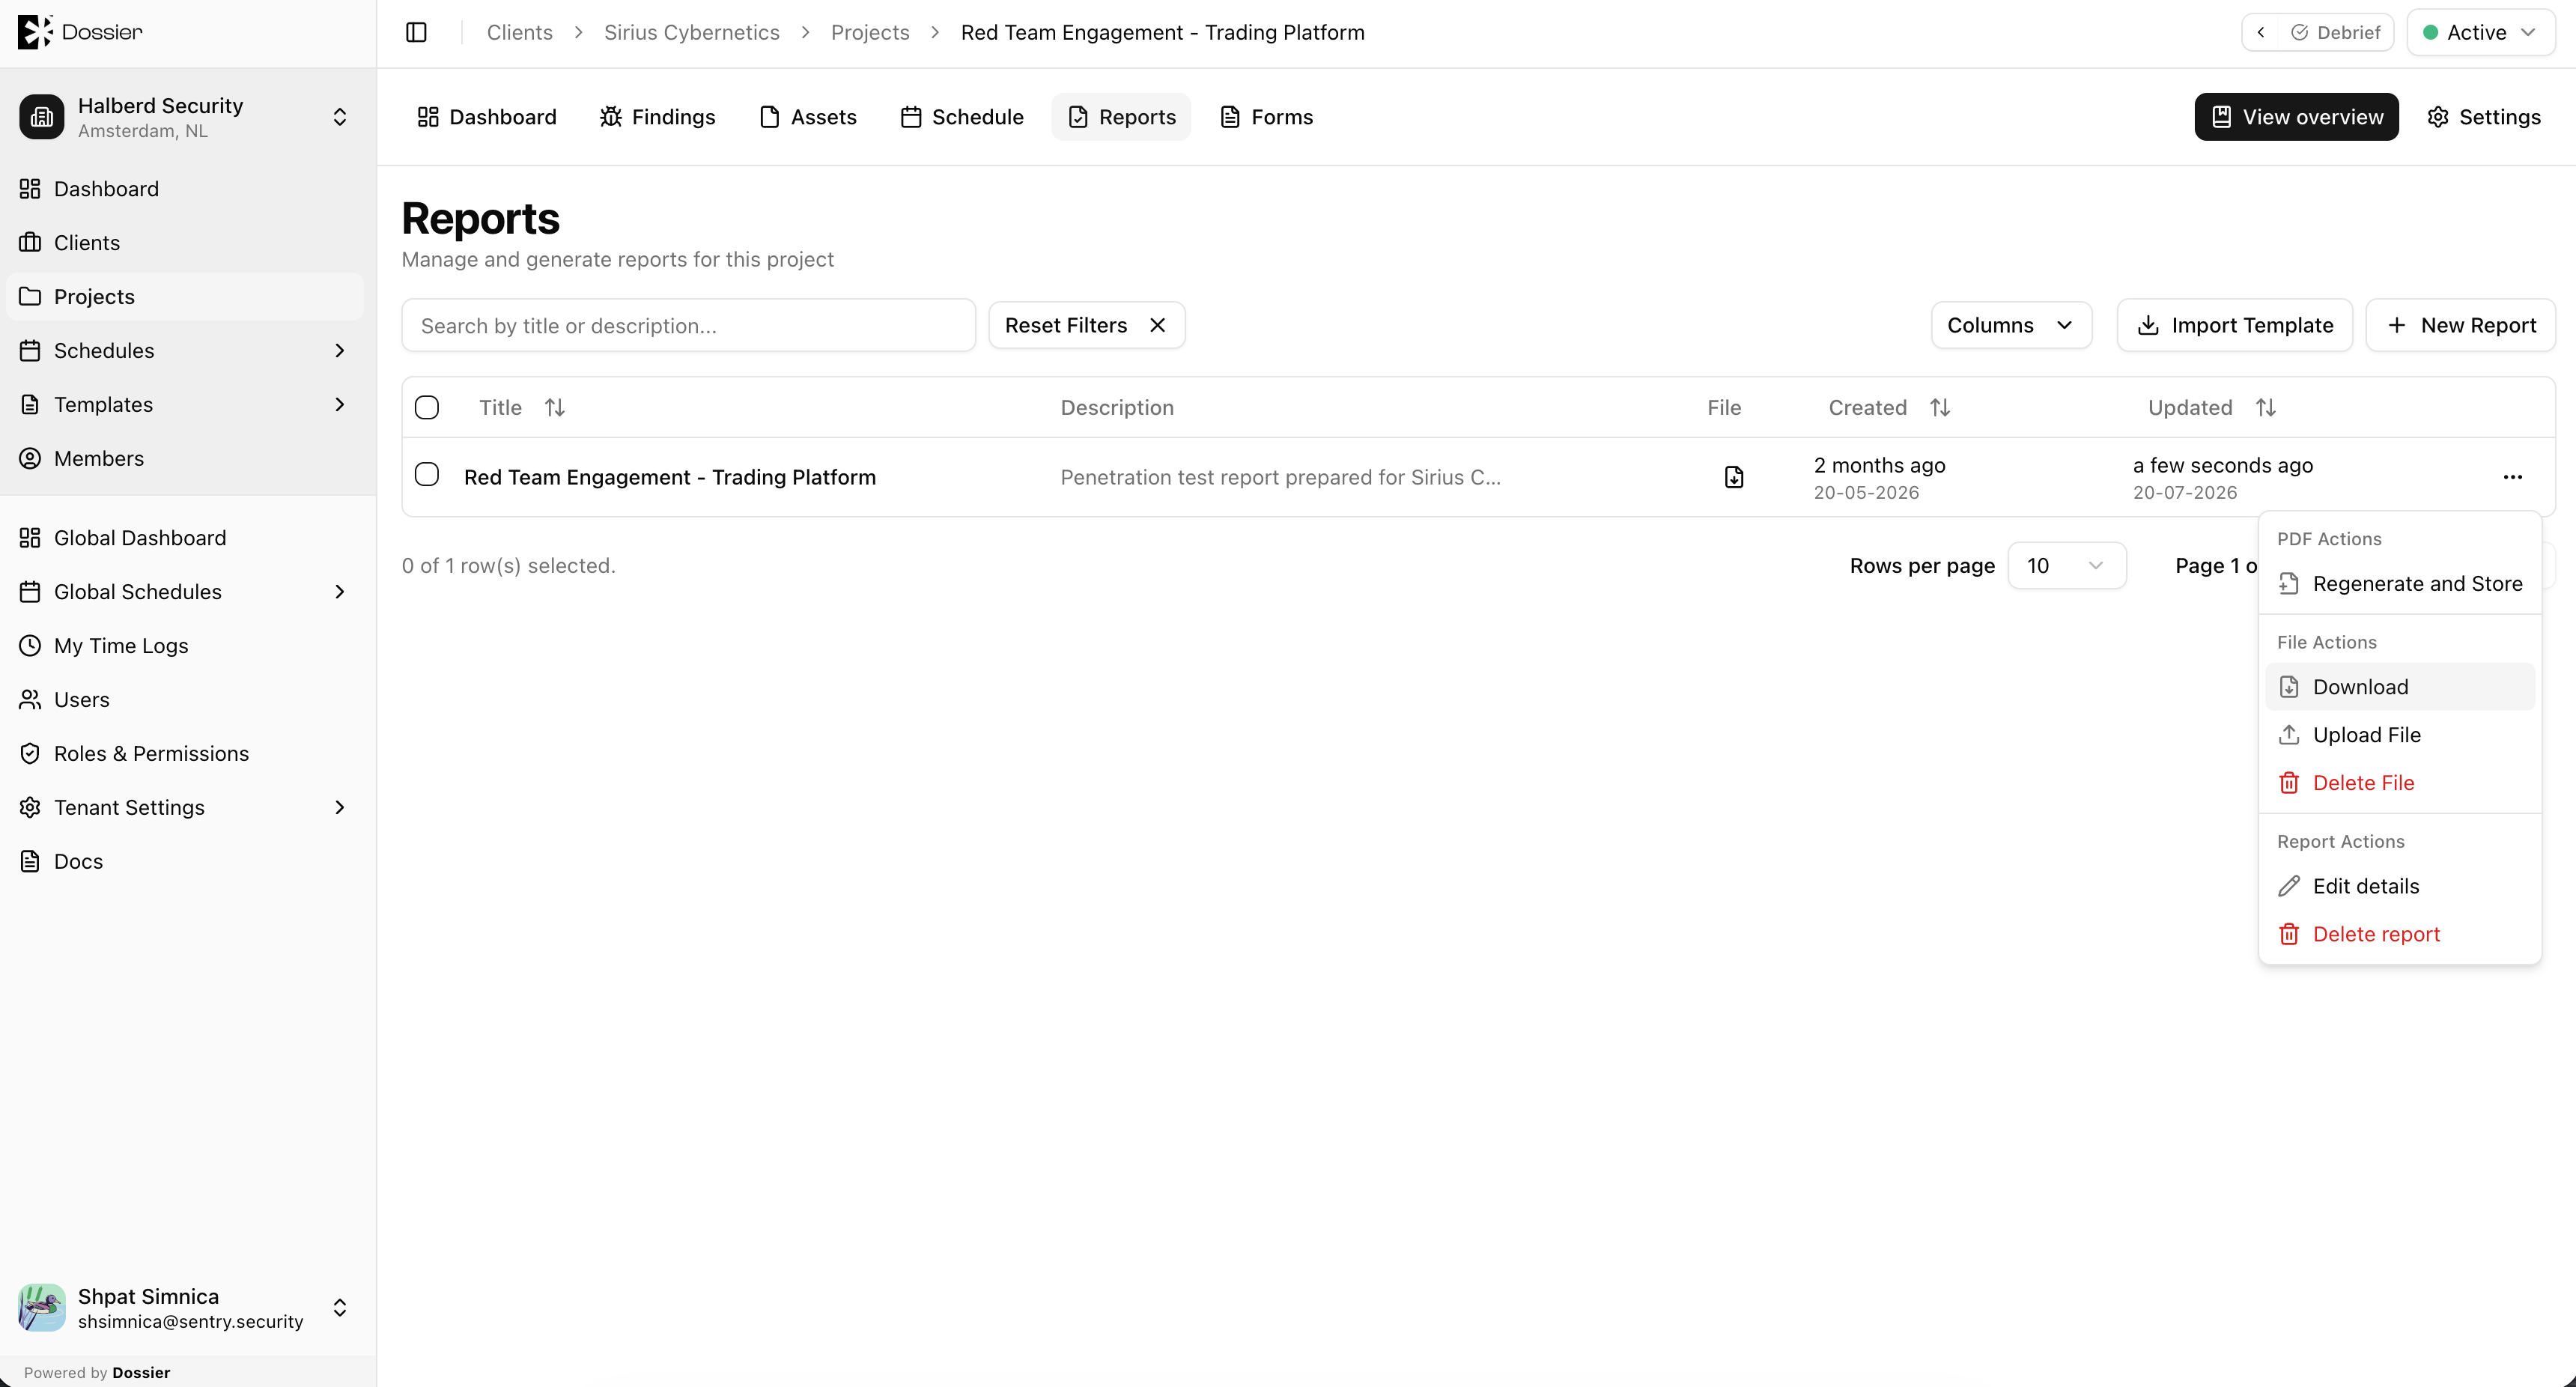
Once generation completes, download the PDF from the report row or the editor.
Saving as a Template
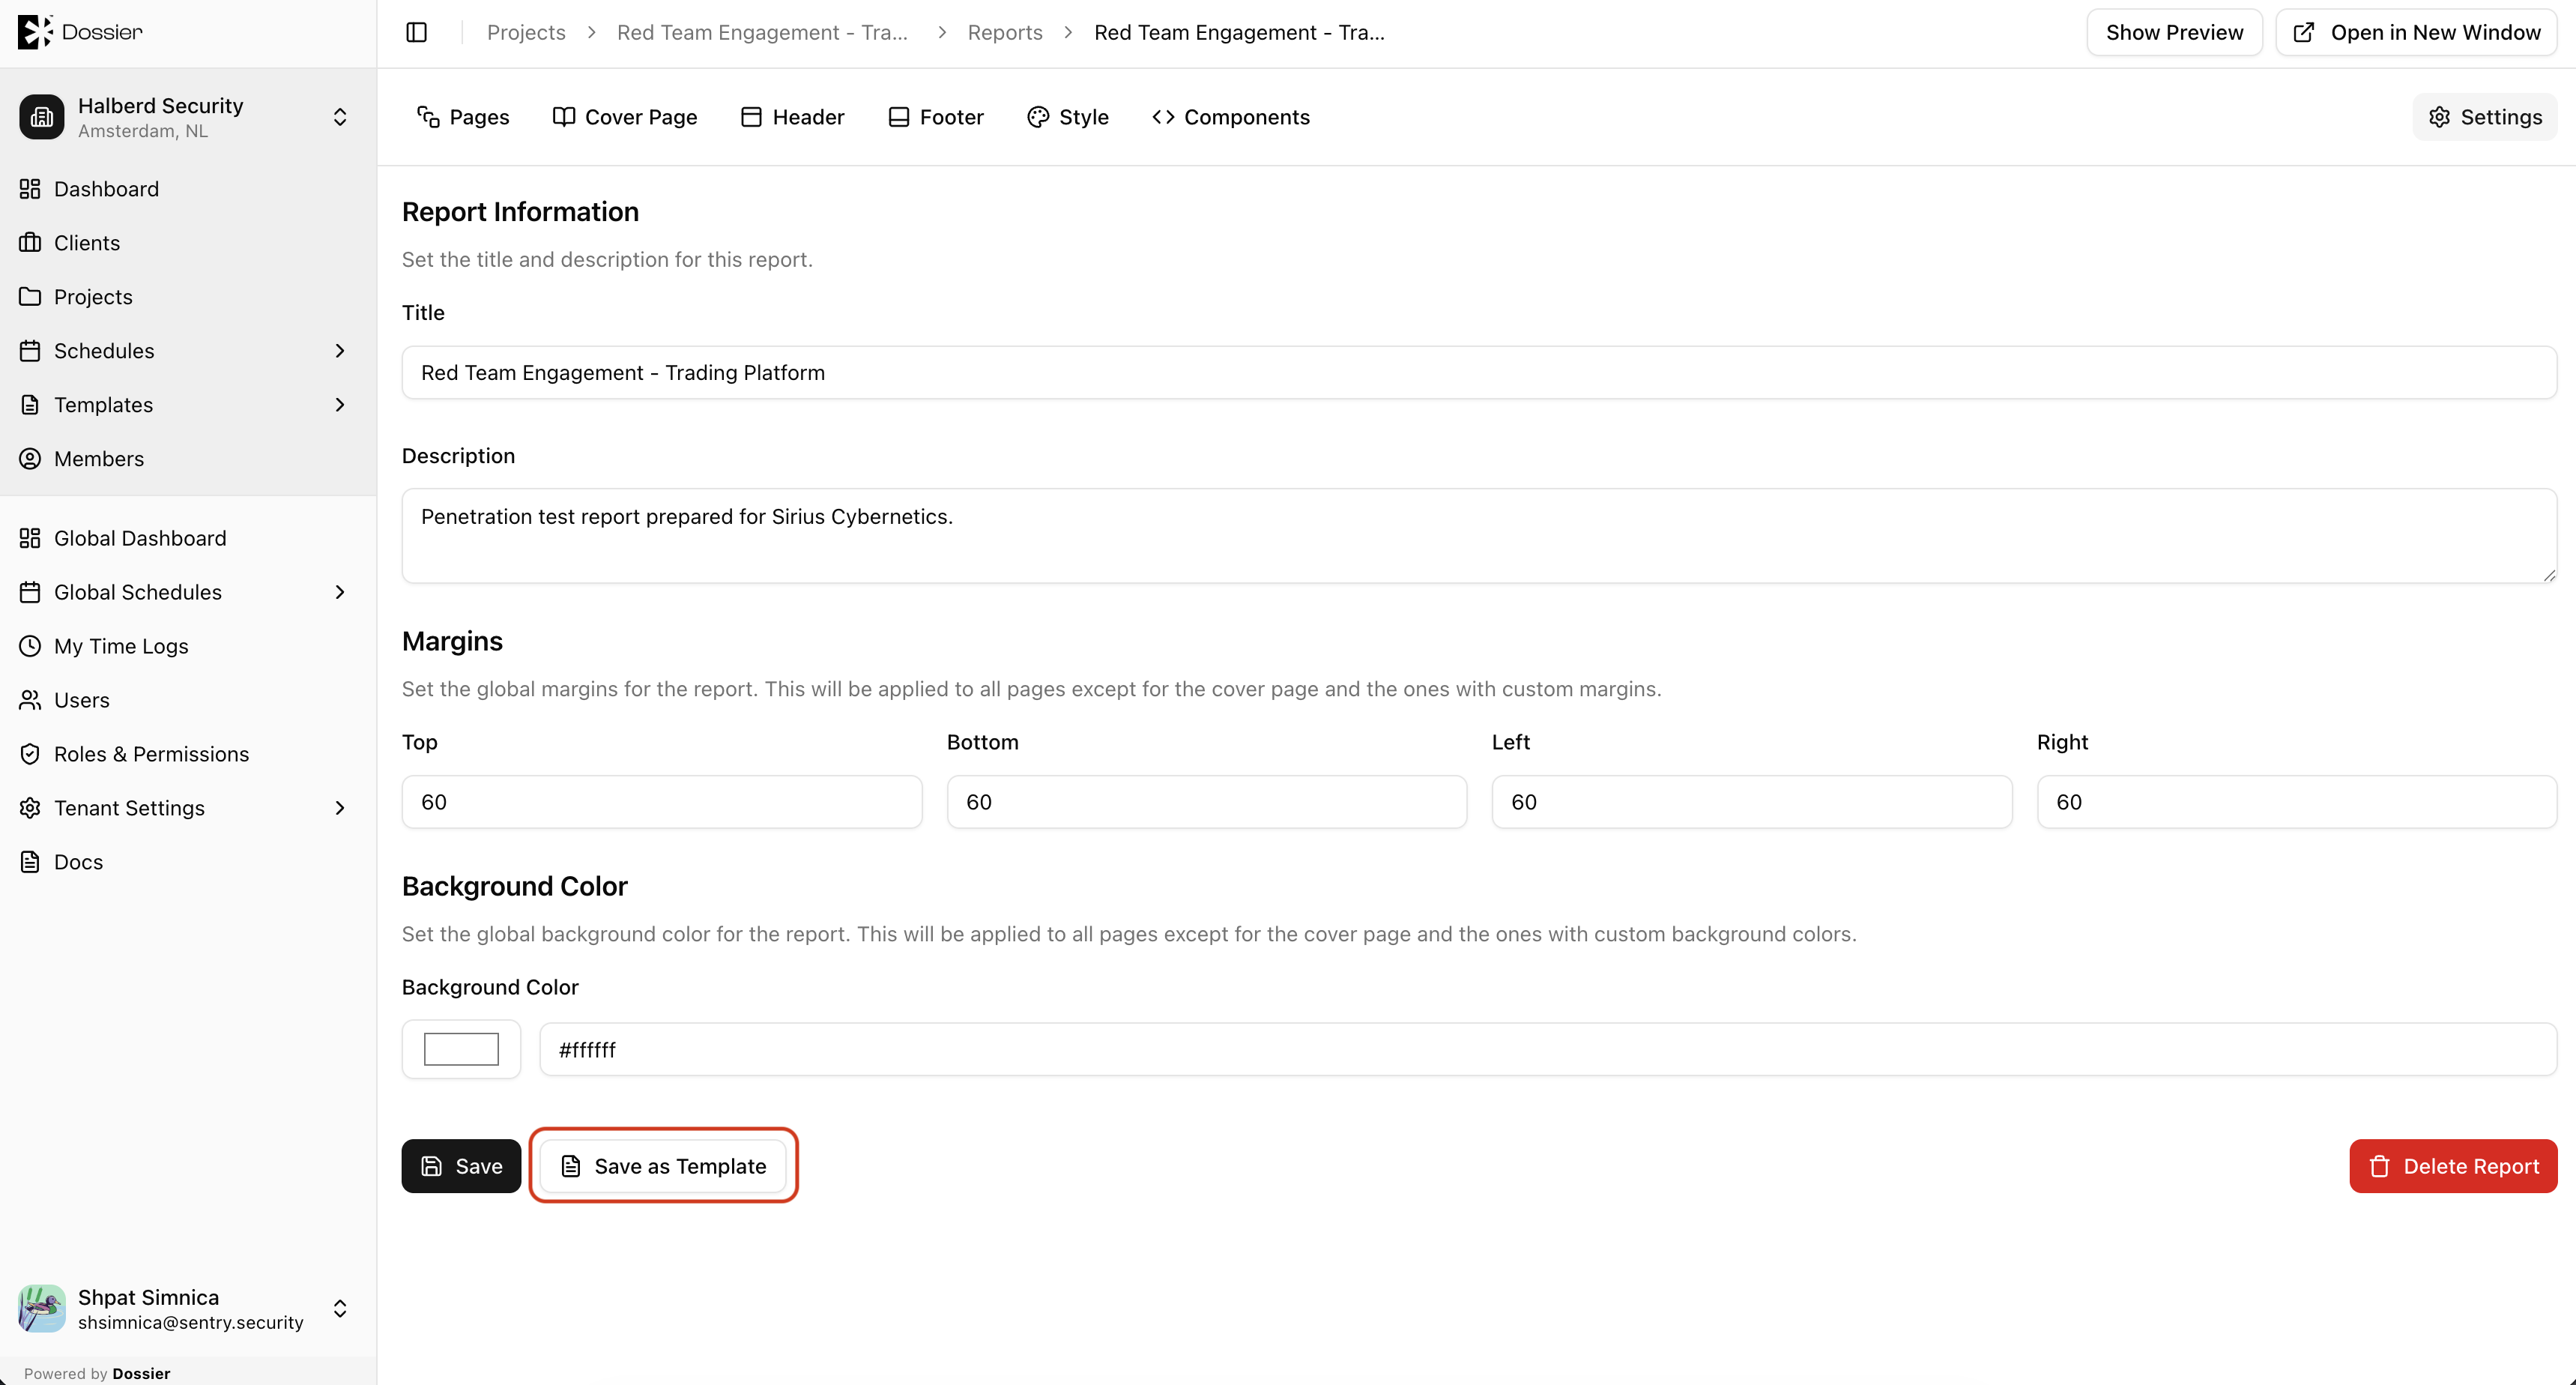
From the report editor, use Save as Template to copy the current project report's structure into a new organization-scoped report template.
Deleting a Report
- From the Reports list, use the row action menu or select and bulk delete.
- Confirm in the dialog.
To delete only the generated PDF (keeping the report), use the Delete PDF action on the report row.
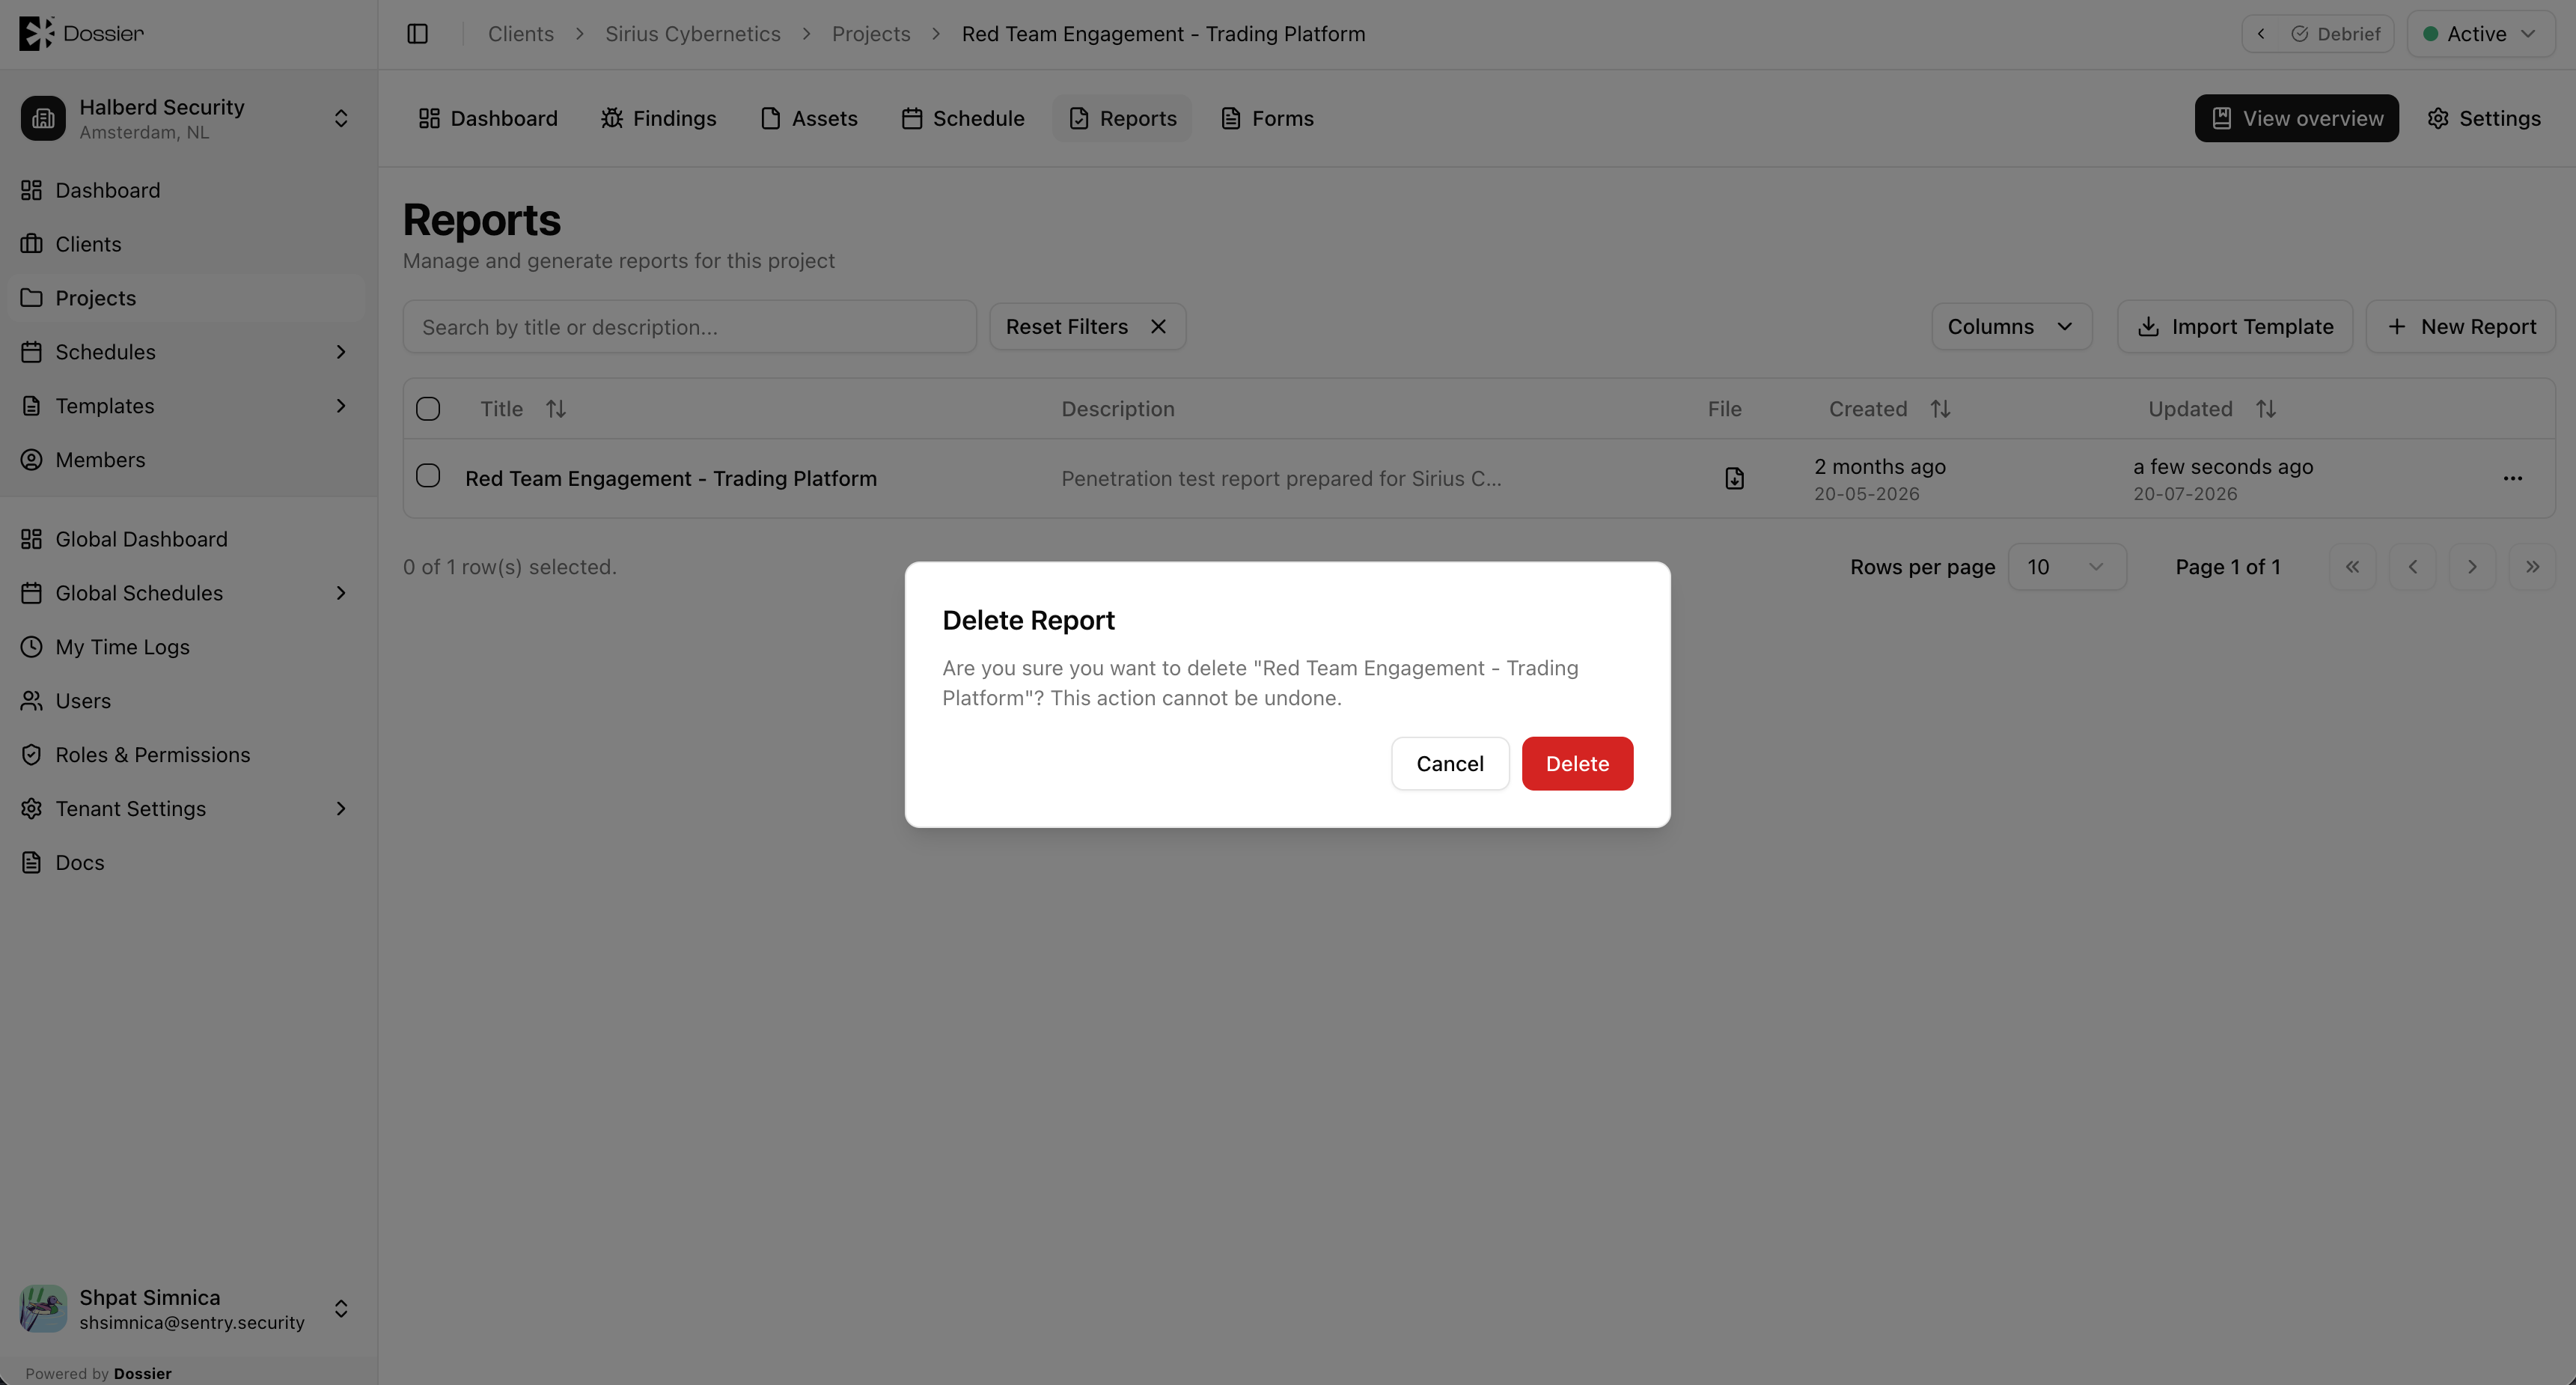
Deleting a report permanently removes all its pages, components, and generated PDFs.